Create a Robust API (from the ground up) in Five Minutes with Node-RED
February 10, 2019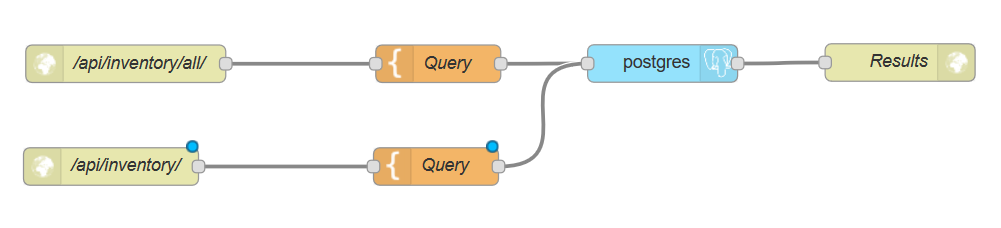
Node-RED is a very powerful tool that can make robust workflows/scripts out of visual flowcharts. Today, we're going to use Node-RED to connect to a Postgres database and provide users with an API endpoint. The following ready-to-bake recipe will have your API up-and-running within five minutes. This API will query the database and return the result(s). Let's get started!
Prerequisites
In order to proceed, you must have Node-RED and a Postgres database running. If you do not, here's how to spin them up with Docker:
Node-RED Container
docker run -d -it -p 8888:1880 -v /lun0/AppData/sandbox/node-red:/data --name="Sanbox-Node-RED" nodered/node-red-docker:v8PostgreSQL Container
docker run -d -it -p 8889:5432 -v /lun0/AppData/sandbox/db:/var/lib/postgresql/data --name="db" postgresSome things to keep in mind:
- Docker port format goes outside:inside (ex. port 1880 is where Node-RED runs and port 8888 is the port that I'm exposing on my host).
- We're going to map some local folders to our containers so we can have persistent data. For me, I'm using the following path on my local filesystem: /lun0/AppData/sandbox/$container.
- Permissions for Postgres can be kind of odd whilst using Docker. You can fix that by: chmod -R 777 $postgres_local_path (ex. chmod -R 777 /lun0/AppData/sandbox/db).
If you'd like to run through this tutorial with the exact data that we're using, here is the database: node-red-fast-api-funofficesupplies_db.sql (via GitHub).
Creating the API
First, let's browse to our Node-RED instance: http://docker_host:port (ex. http://docker:8888).
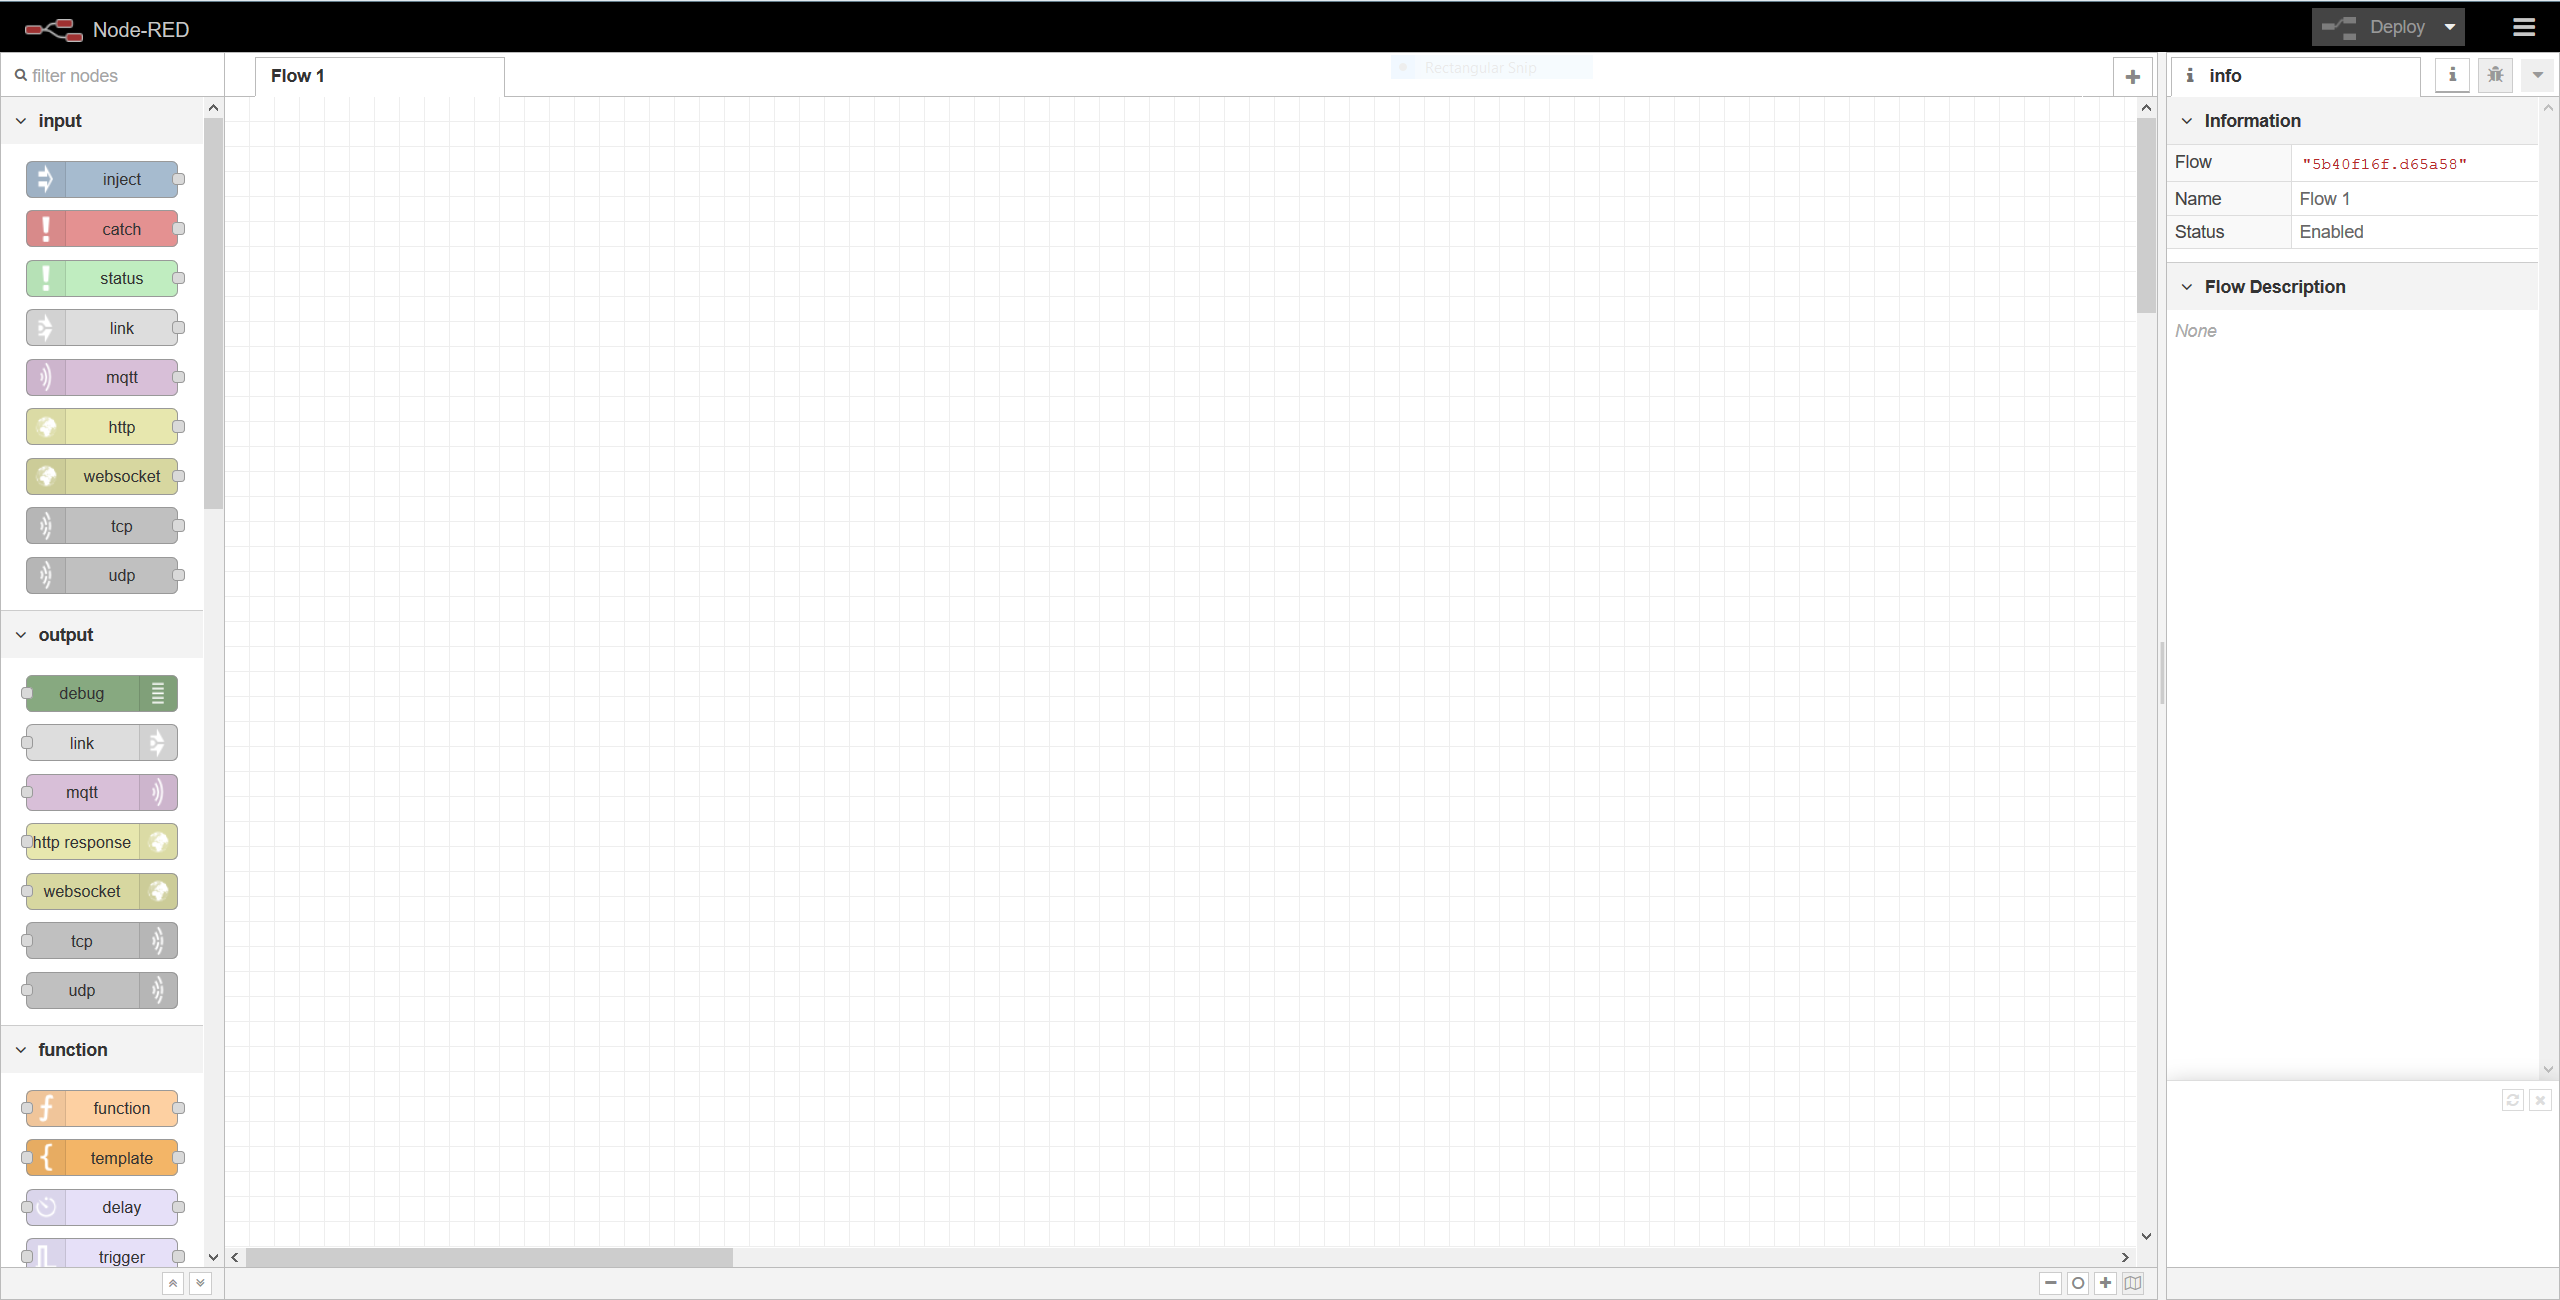
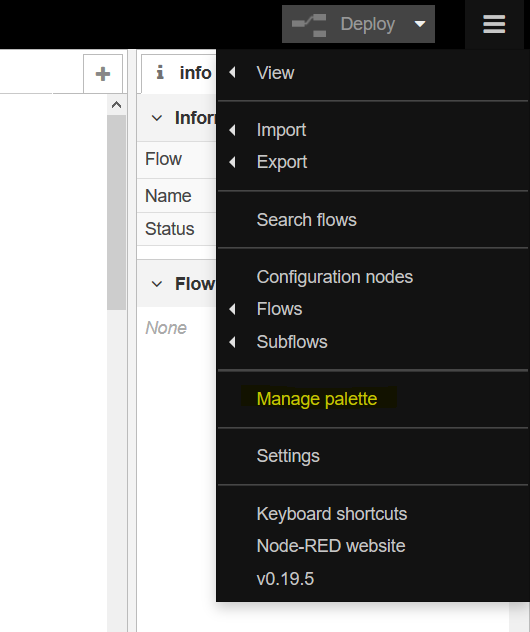
At the top right of the page, click the hamburger menu button and then select Manage palette.
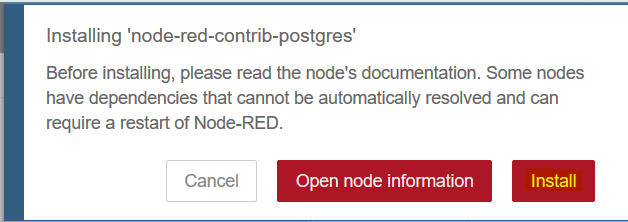
In the new window, click on the Install tab and then search for postgres. Click install for the node-red-contrib-postgres item.
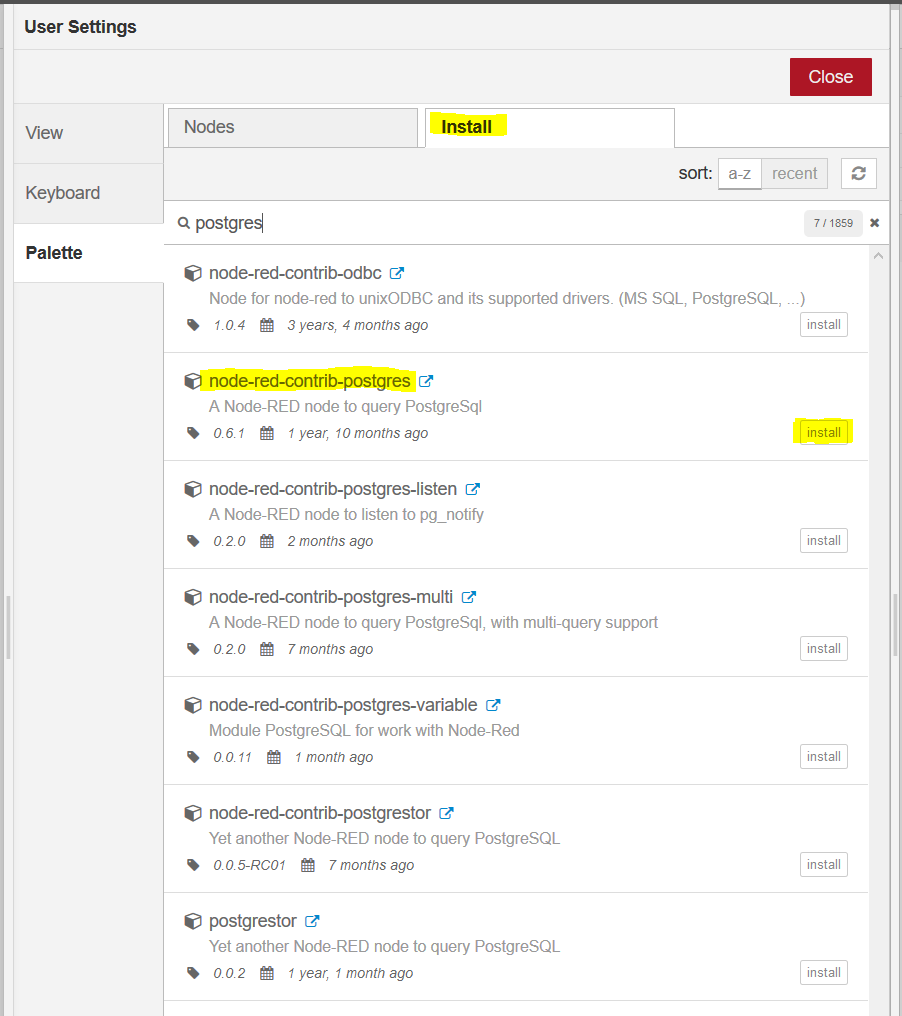
A confirmation dialog box will appear, click Install. Once the item has installed, you can close the palette.
Drag the http node into your flow. Double click on the node (once placed) and set the method and URL of your choosing. For this example, we'll be calling via GET at /api/inventory/all/.
Next, drag in a template node and double click on it. Set the template field to your SQL query. For this API call, we're going to select all items from the database and see how many are in stock.
SELECT "SKU".description AS "Item",
	"INVENTORY".is_available AS "Quantity Available"
    FROM "INVENTORY"
    INNER JOIN "SKU" ON ("INVENTORY".sku = "SKU".id);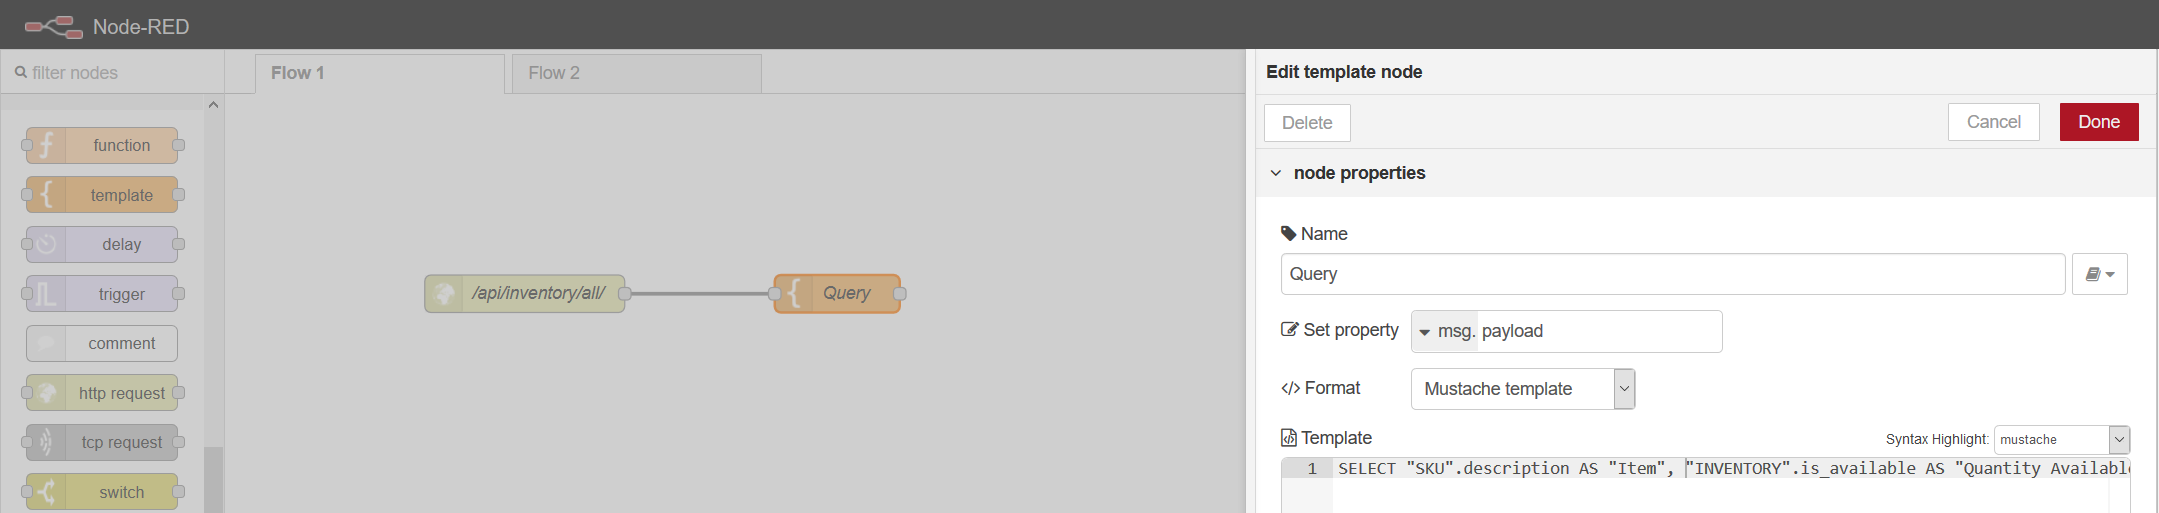
Next, we'll drag a Postgres node into our flow. We'll set the IP, hostname, or FQDN, port, database, username, and password.
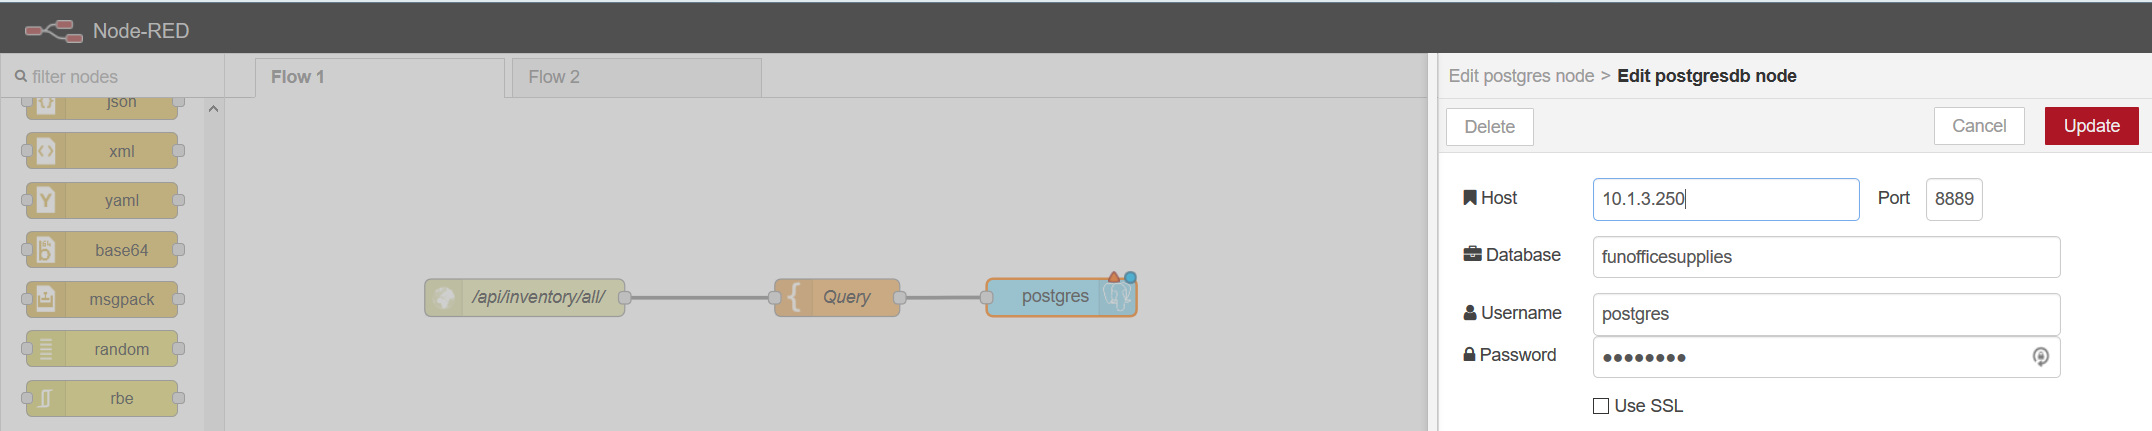
Once you've clicked Update, be sure to check Receive query output and then click Done.

Lastly, add an HTTP Response object. We're finally ready - go ahead and press the big, red, Deploy button.

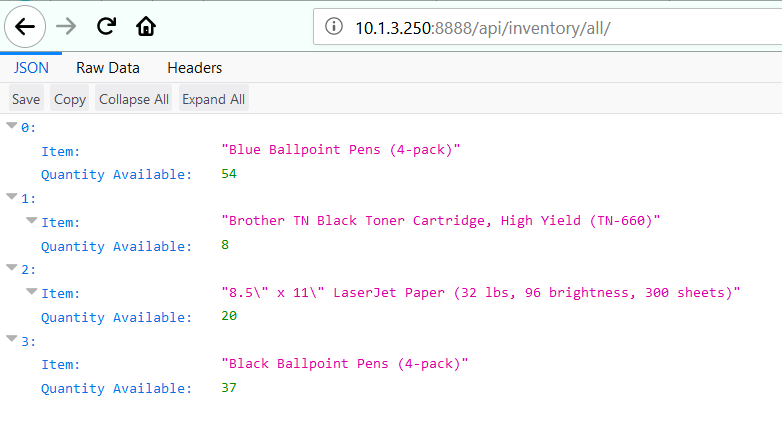
Now, in your client of choice, call your API. You should see your results!
Advancing the API
Pretty cool, eh? Let's say that you're looking for information regarding a particular SKU. Here's how to pass in data to our API from the client.
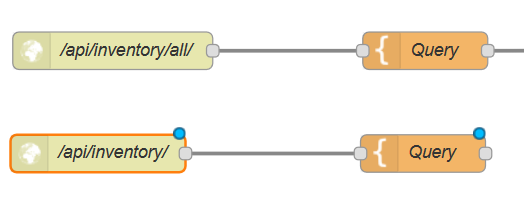
First, highlight the first two nodes of our previous flow and copy/paste them below. Double click on the first node and change the API path and name.
Now, double click on the template node labeled Query. We're going to insert our new query. Pay close attention to the end of the query where we insert our GET variable's value.
SELECT "SKU".description AS "Item",
	"INVENTORY".is_available AS "Quantity Available"
    FROM "INVENTORY"
    INNER JOIN "SKU" ON ("INVENTORY".sku = "SKU".id)
    WHERE "SKU".id = {{payload.sku}};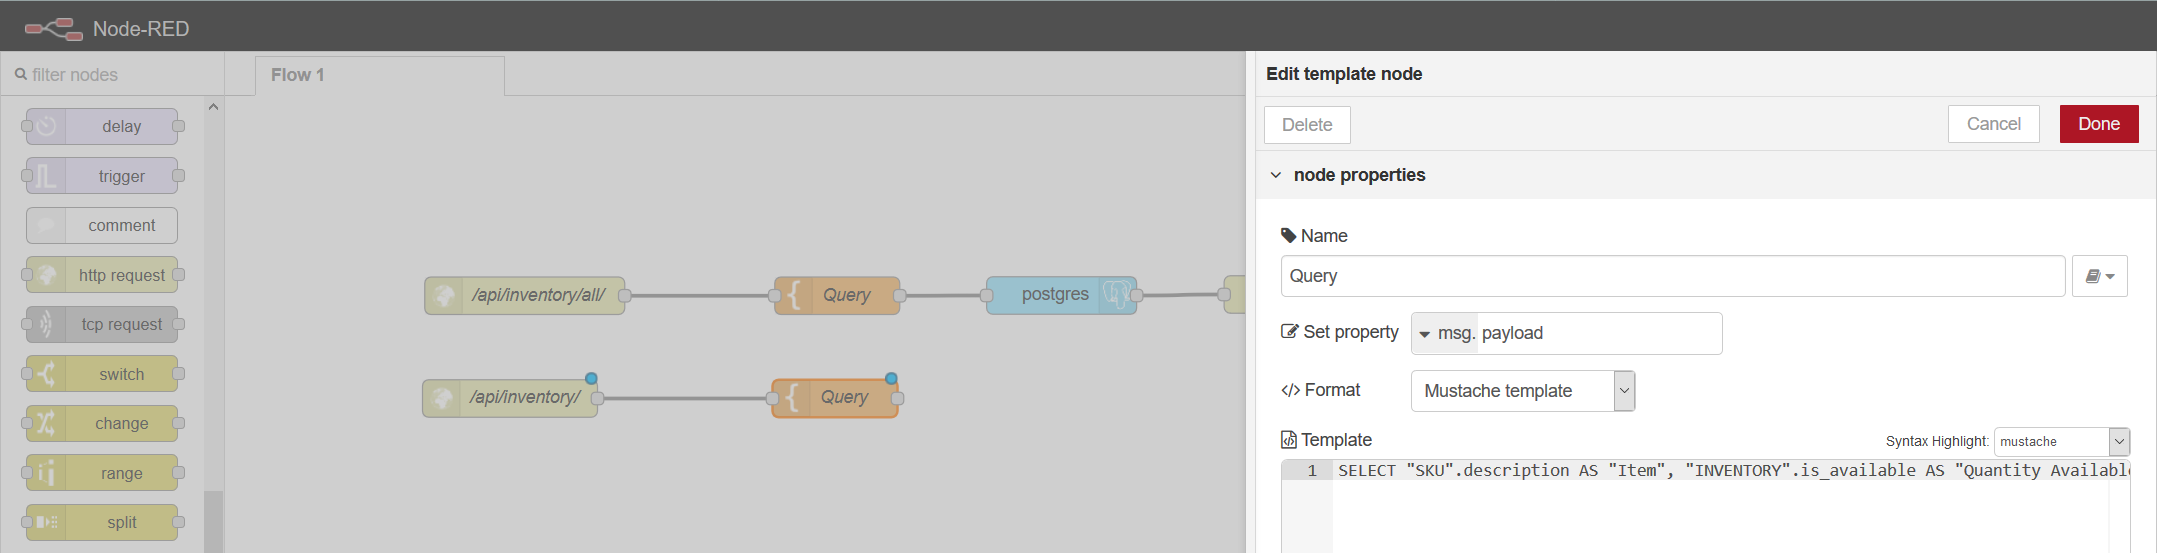
At this point, we're almost done. Connect your new query's output to the postgres node from the last API call. No need to waste nodes! Now, click Deploy.

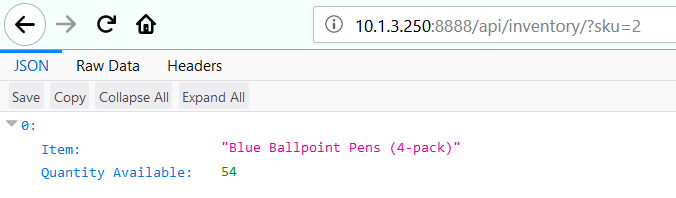
Browsing to your API endpoint should now look like this:
Summary
And that's it! A robust API in five minutes using Node-RED! Besides two SQL queries, no code was written.