Defining Instance Sizes/Types in oVirt 4.2
December 10, 2018
Cloud providers usually give you options that look like: "micro, mini, large, etc." Each of these types equate to a set amount of RAM or CPU - potentially other options also - that can be allocated to your virtual machine.
oVirt allows you to setup your own instance types. If you are a systems administrator, you've most likely seen users over allocate/provision virtual machines. For RAM, this is usually not a big deal as long as the balloon driver has been installed. However, with custom instance types, you can avoid this all together by locking down what instances specific users can create a VM based off of. Here's how to setup custom instance with oVirt 4.2!
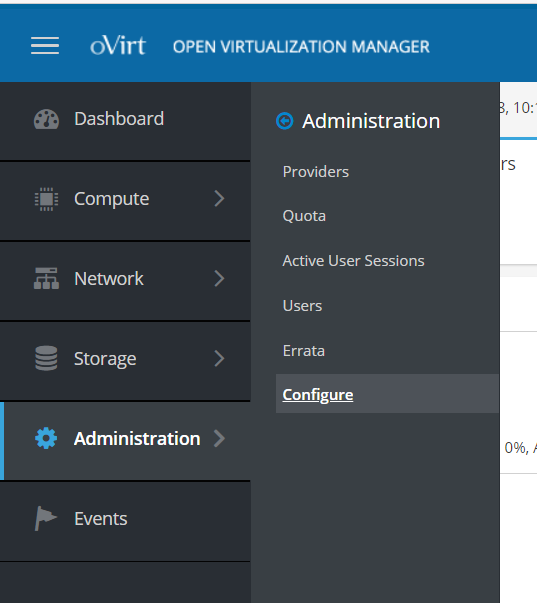
First, we'll navigate to Administration > Configure in our Administration Portal.
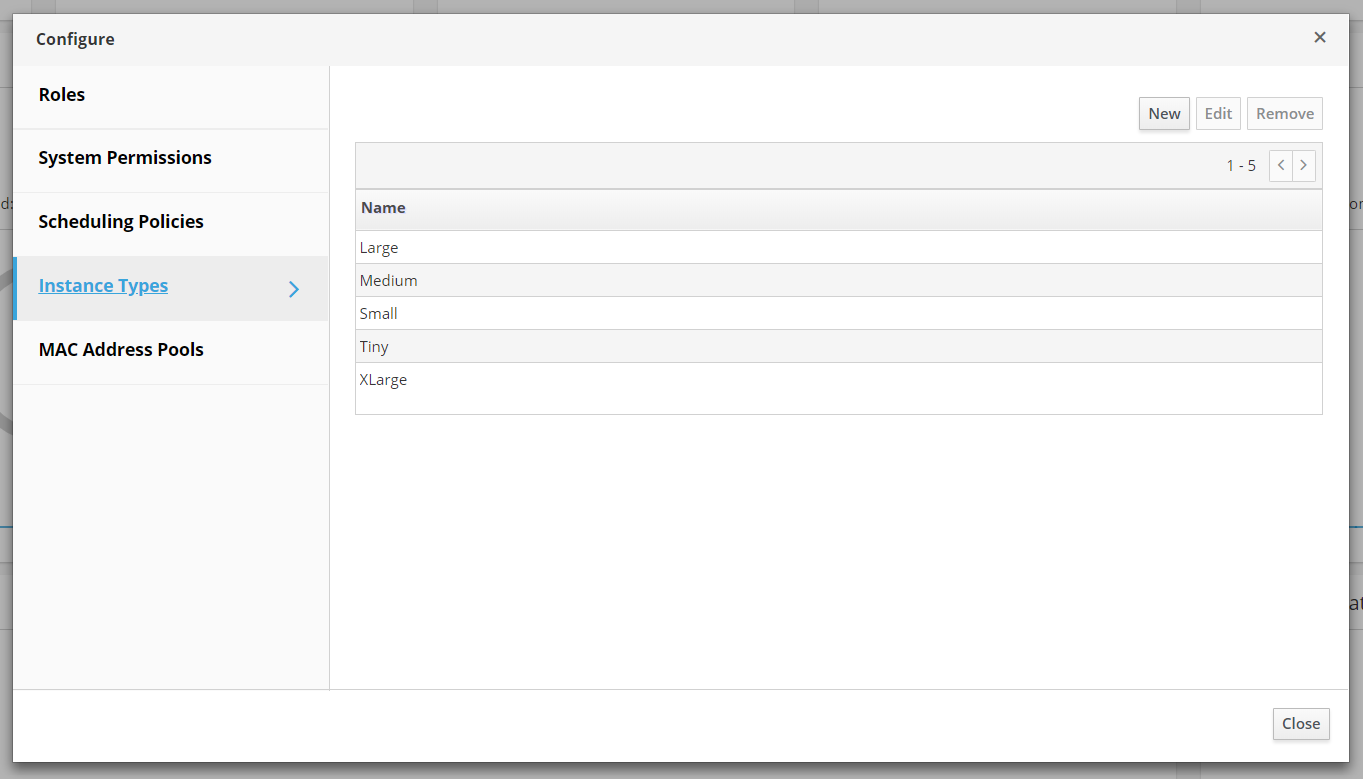
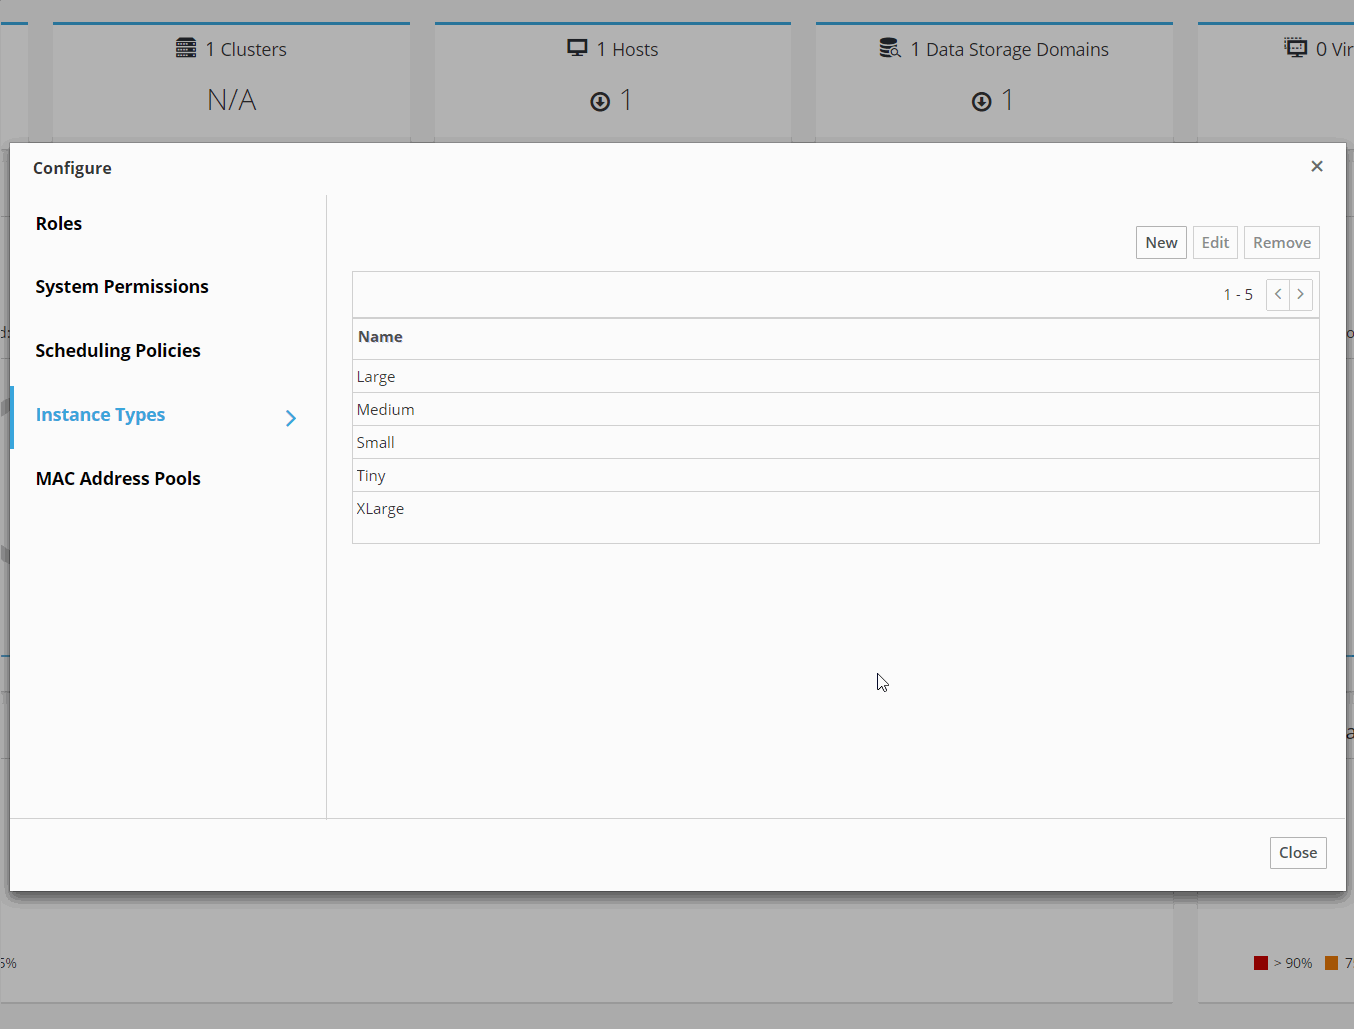
Click on Instance Types. As you can see, oVirt has already given us a few great options. You may want to take a moment to edit one just to view its settings. When you are ready to create your own, click New.
When the next modal appears, be sure to click Show Advanced Options. We're going to configure a few options:
- Under General, Name will be set to 'Mini'
- Under System, we will set the RAM to 256MB with a max of 512MB
- We'll also change the boot order under Boot Options
Definitely play around in these menus. There are an abundant amount of options that you can tweak. The more configuration that you do here, two things happen: A) less configuration for the end-user and B) less unnecessary over provisioning/allocating.
When you're all set tweaking your new instance type, click the OK button.
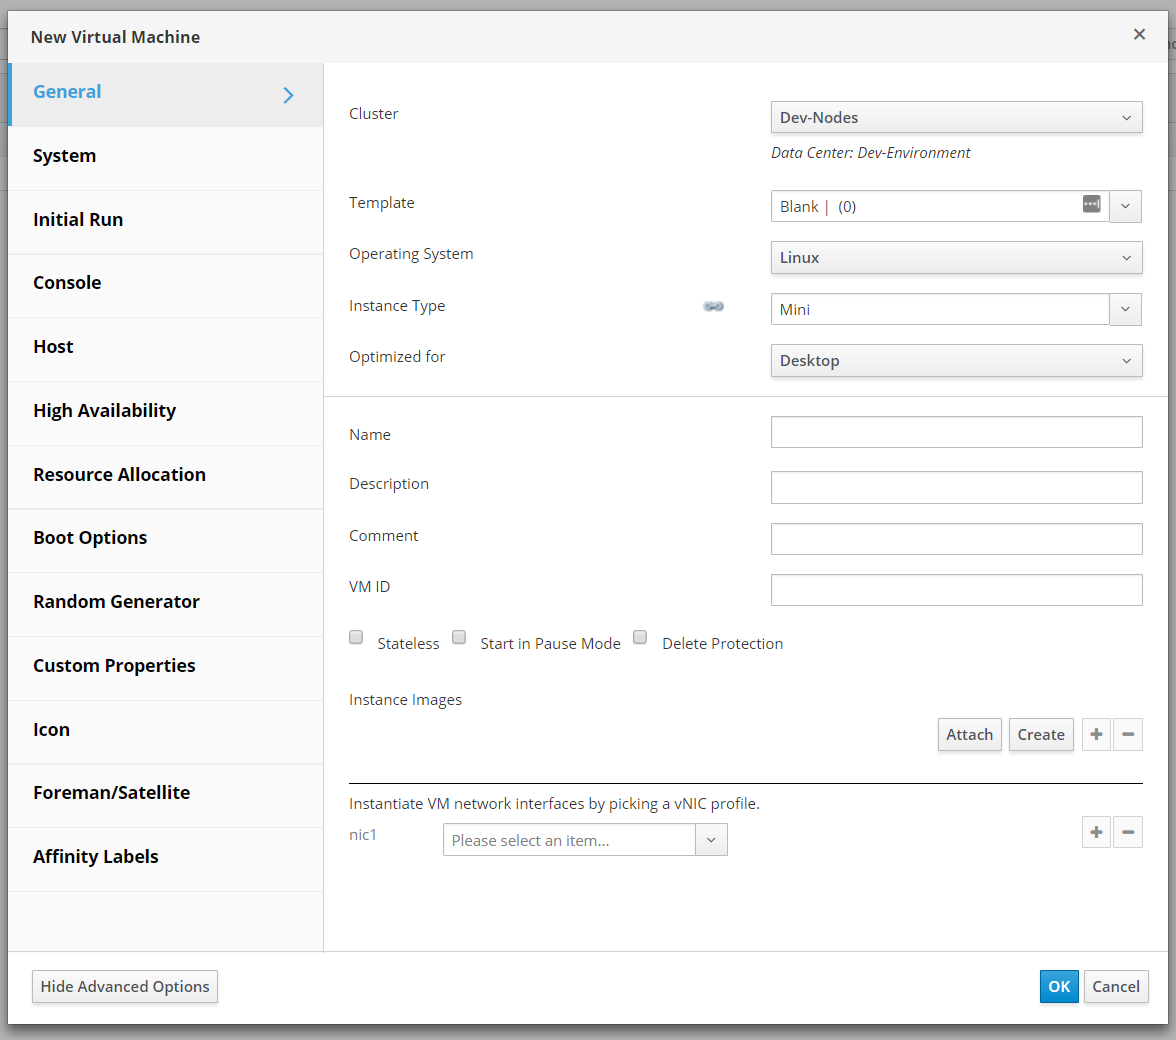
Now, let's go back to our Virtual Machines and click on New. As you can see, Mini is now an option under the Instance Type dropdown. Success!