Install oVirt Node 4.2
November 25, 2018
Welcome to our oVirt 4.2 series! In this article, we'll go over how to install oVirt Node. Think of oVirt Node as what ESXi is in the VMware world; oVirt Engine manages oVirt Nodes.
First, you'll need to download oVirt Node here: https://resources.ovirt.org/pub/ovirt-4.2/iso/ovirt-node-ng-installer-ovirt/
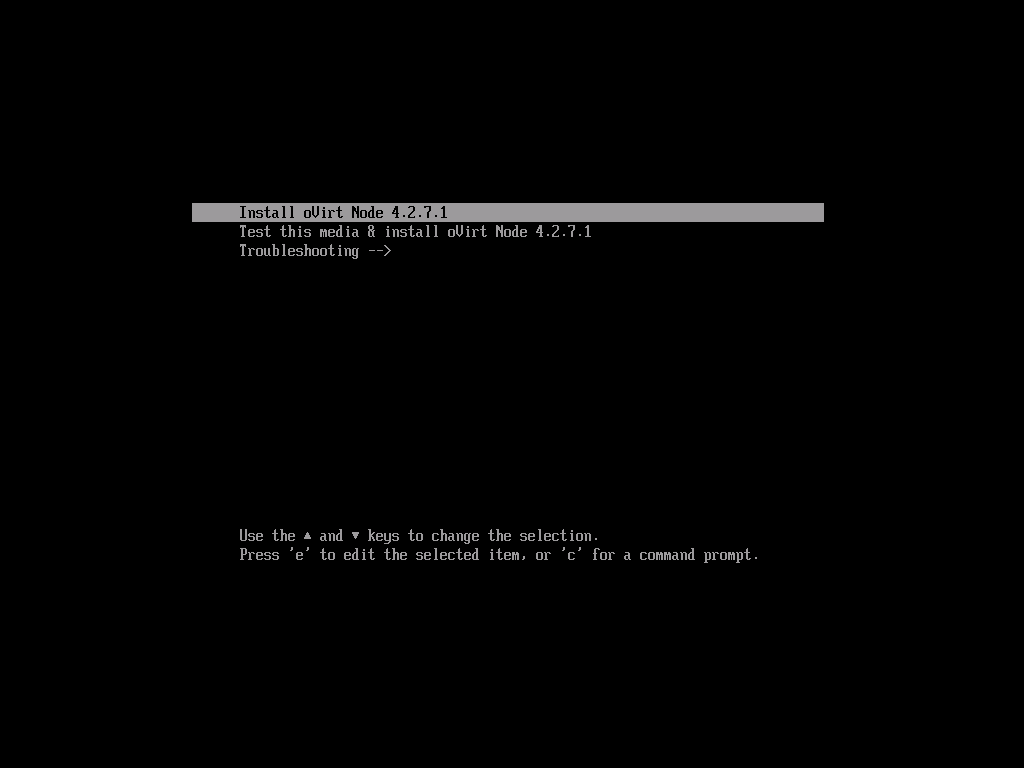
Once you have the ISO, mount it (or burn a CD/flash drive) and boot from it:
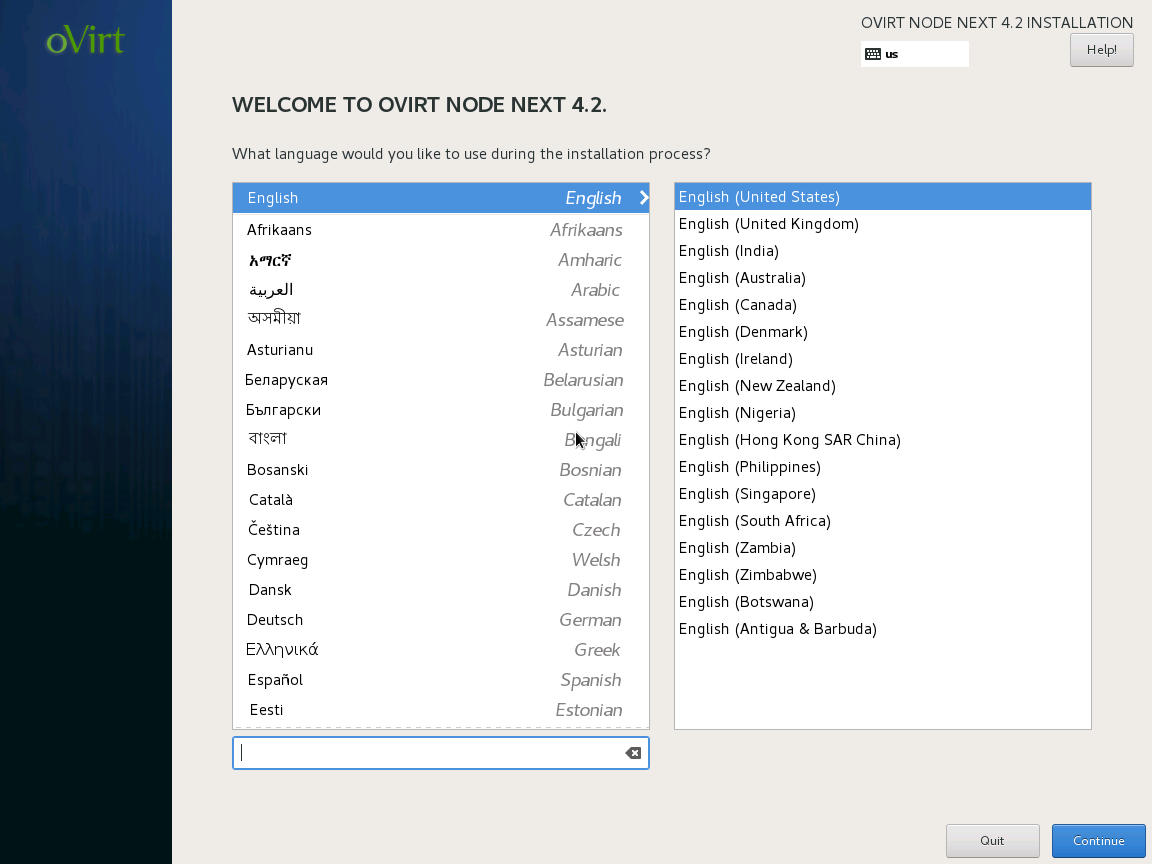
Next, you'll notice that the installer looks very similar to Fedora or CentOS installers. Select your language and click Continue.
You'll notice that we have four items to fix before we can begin installation. Click on each to complete them.

For date and time, select where you are and make sure the date matches the current date. Once done, click Done.

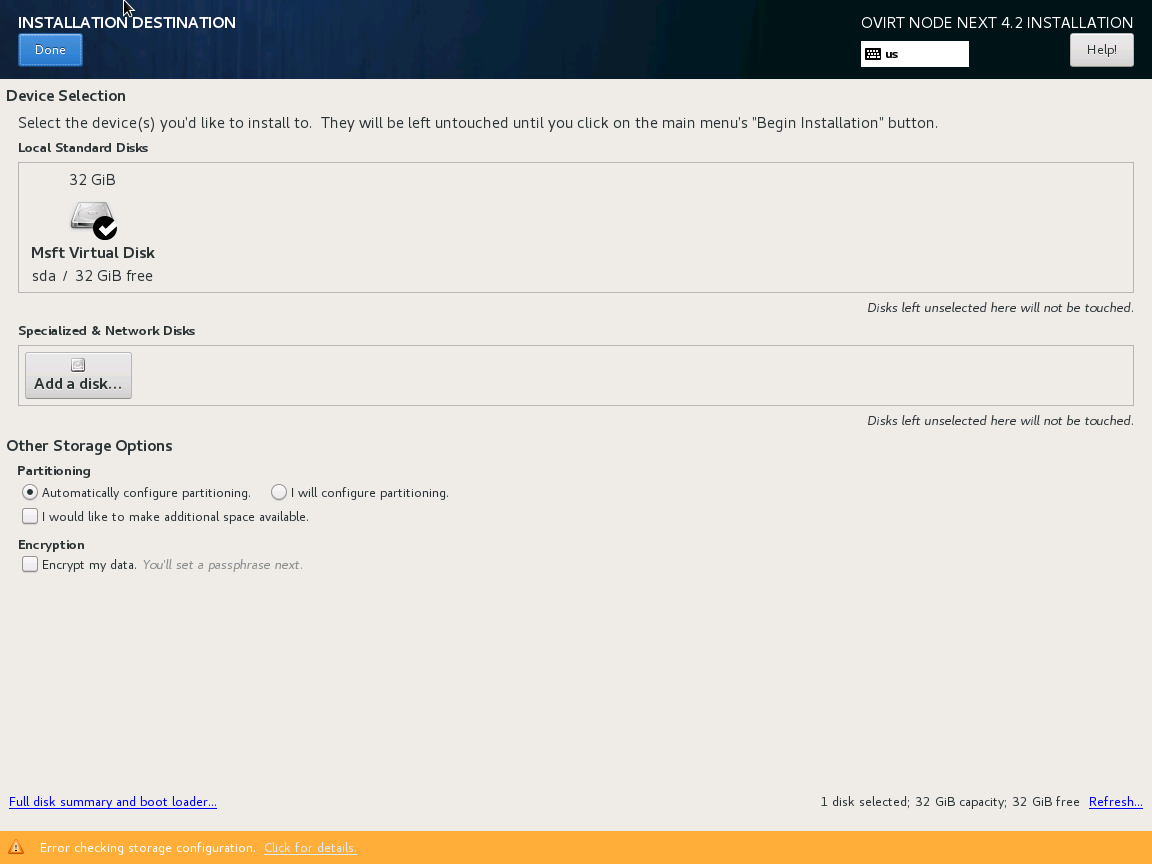
For Installation Destination, make sure the proper HDD or SSD (or LUN) is selected and click Done.
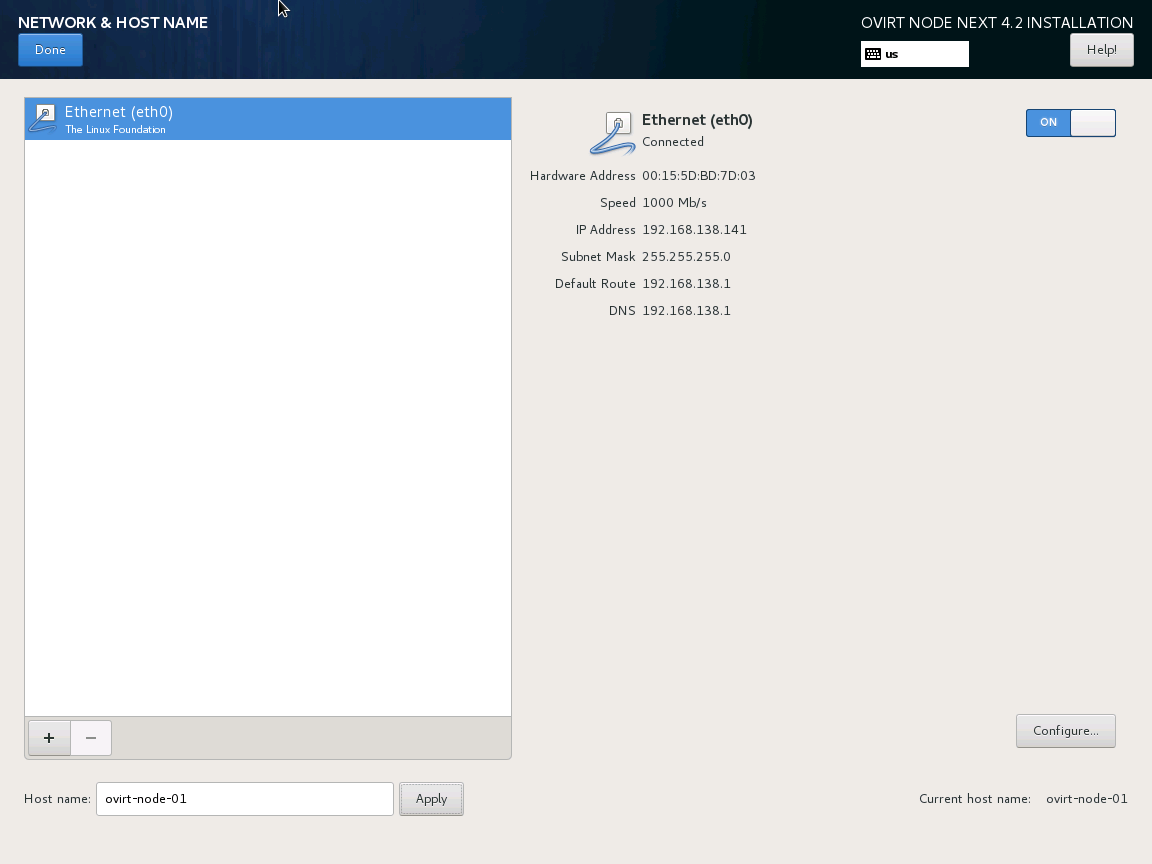
For Network & Hostname, set the Hostname and turn on your NIC to get DHCP (or click Configure... to set a static IP). Once done, click Done.
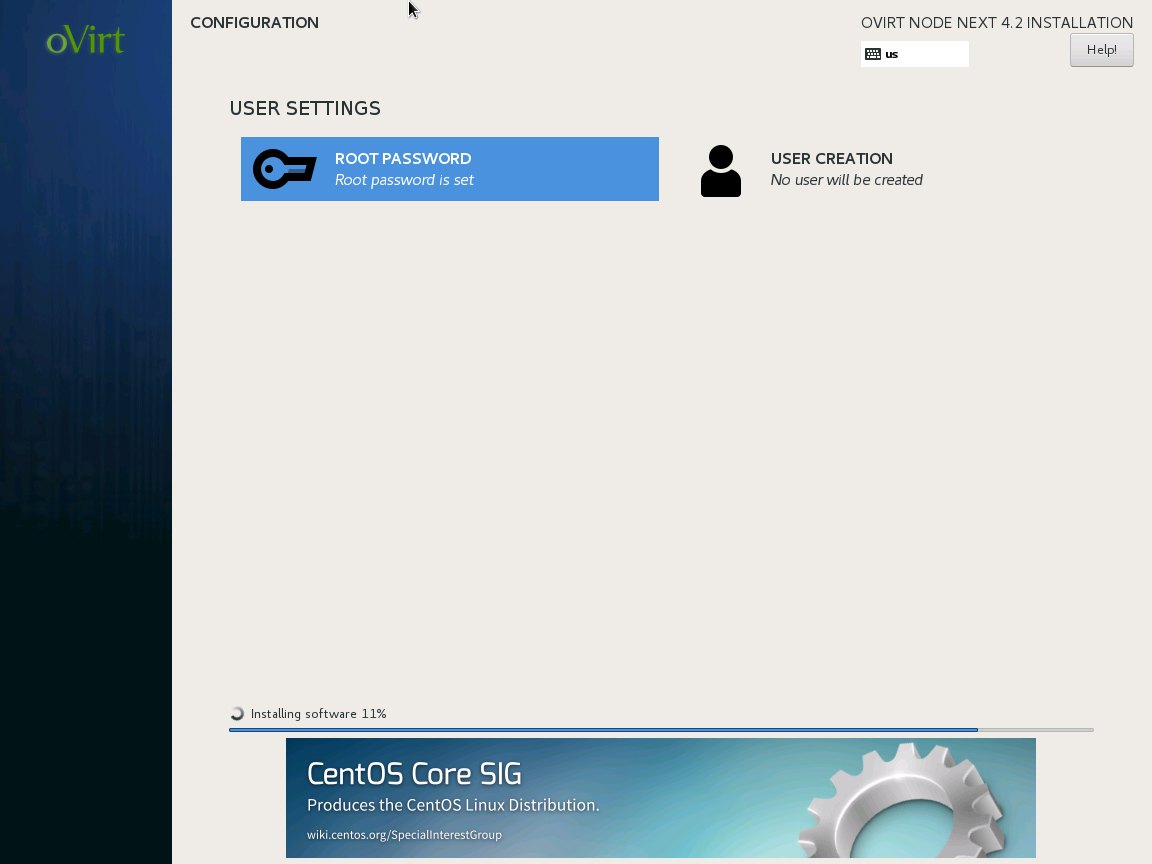
Now, you should be able to click Begin installation. On the next page, click Root Password and set your password.
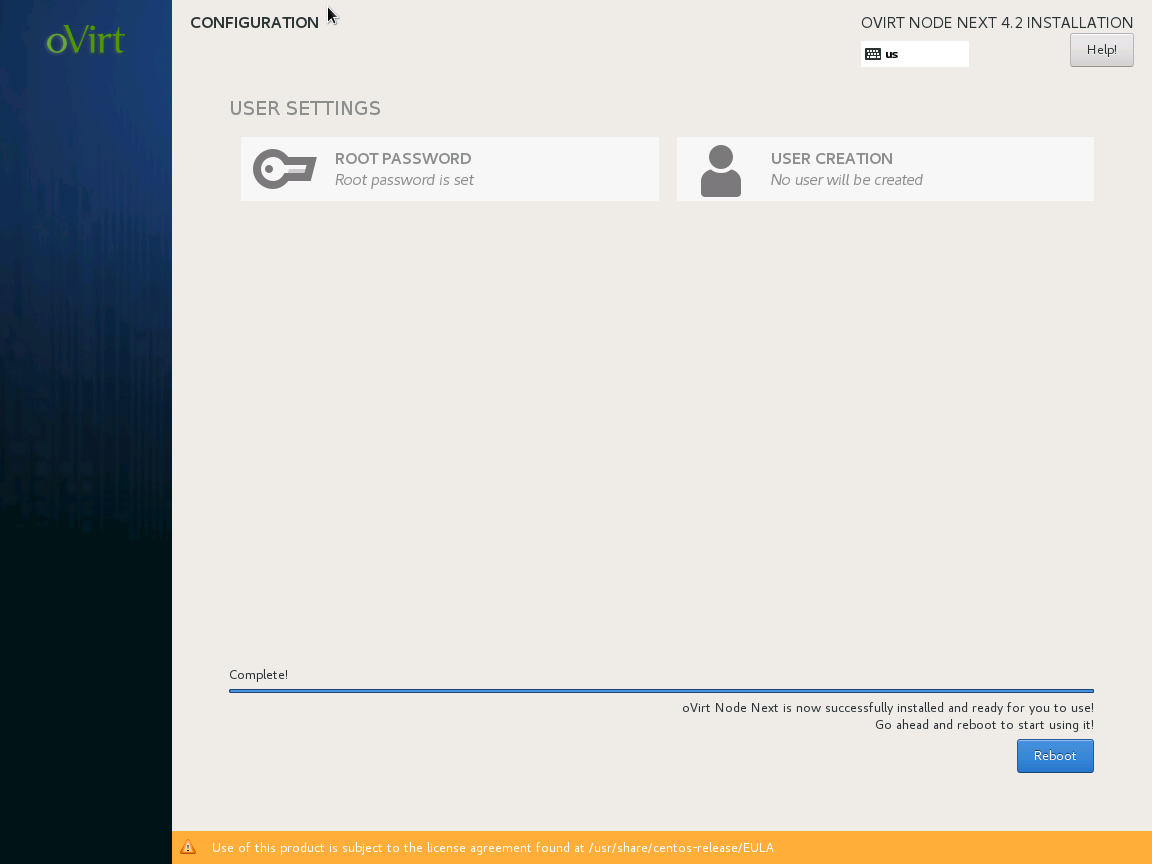
After the installation has completed, unmount your ISO (or take out the CD/flash drive) and click Reboot.
After a quick reboot, the login screen should appear and that's it!