Installing oVirt 4.2 on CentOS 7.5
November 25, 2018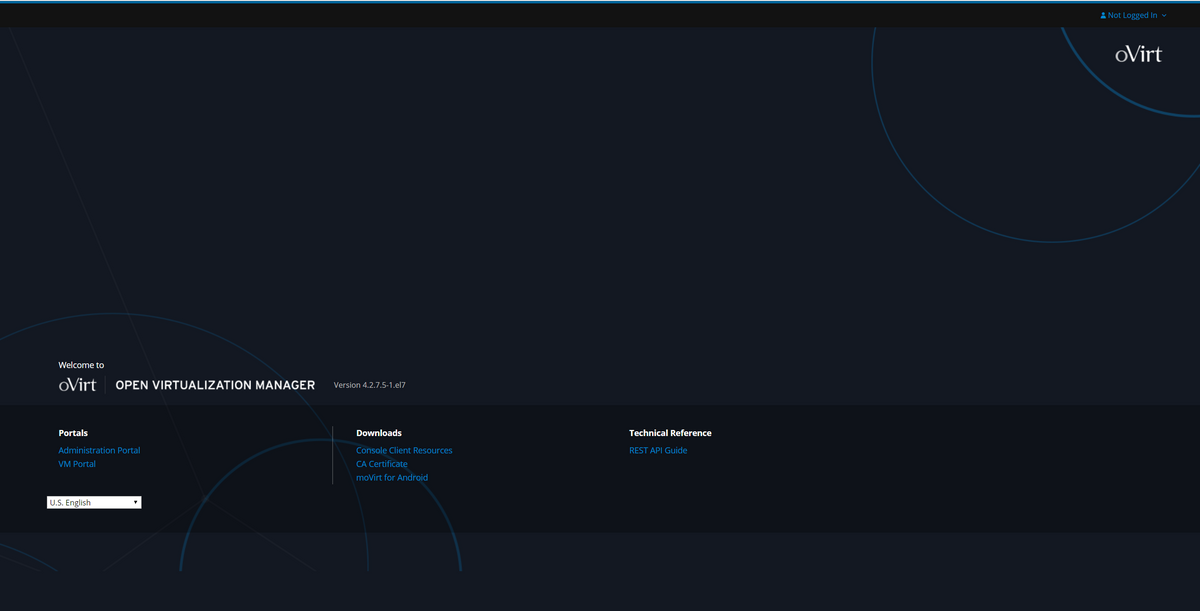
Welcome to our oVirt 4.2 series! In this article, we'll go over the quick and easy install of oVirt 4.2 on CentOS 7.5. In total, installation should take about five minutes or less.
-
First, let's add the official oVirt 4.2 yum repo:
yum install -y https://resources.ovirt.org/pub/yum-repo/ovirt-release42.rpm -
Next, we'll install oVirt Engine. Think of this as what vCenter is in the ESXi universe.
yum install -y ovirt-engine -
After the installation has completed, we'll go through the initial setup:
engine-setup
The initial setup will ask you the following questions. For the sake of a nice, clean environment that's ready to be used, we're going to keep all of the defaults.
Configure Engine on this host (Yes, No) [Yes]: Yes

Configure ovirt-provider-ovn (Yes, No) [Yes]: Yes

Configure Image I/O Proxy on this host (Yes, No) [Yes]: Yes

Configure WebSocket Proxy on this host (Yes, No) [Yes]: Yes

Configure Data Warehouse on this host (Yes, No) [Yes]: Yes

Configure VM Console Proxy on this host (Yes, No) [Yes]: Yes

Host fully qualified DNS name of this server [oVirt.lan]: ovirt.lan

Do you want Setup to configure the firewall? (Yes, No) [Yes]: Yes

Where is the DWH database located? (Local, Remote) [Local]: Local

Would you like Setup to automatically configure postgresql and create DWH database, or prefer to perform that manually? (Automatic, Manual) [Automatic]: Automatic

Where is the Engine database located? (Local, Remote) [Local]: Local

Would you like Setup to automatically configure postgresql and create Engine database, or prefer to perform that manually? (Automatic, Manual) [Automatic]: Automatic

Engine admin password: password

Confirm engine admin password: password

Application mode (Virt, Gluster, Both) [Both]: Both

Use default credentials (admin@internal) for ovirt-provider-ovn (Yes, No) [Yes]: Yes

Default SAN wipe after delete (Yes, No) [No]: No

Organization name for certificate [lan]: lan

Do you wish to set the application as the default page of the web server? (Yes, No) [Yes]: Yes

Do you wish Setup to configure that, or prefer to perform that manually? (Automatic, Manual) [Automatic]: Automatic

Please choose Data Warehouse sampling scale:

          (1) Basic

          (2) Full

          (1, 2)[1]: 1


Please confirm installation settings (OK, Cancel) [OK]: OK

[ INFO  ] Execution of setup completed successfully
Once the initial setup wizard has completed and exited, navigate to your machine in a web browser (ex. https://ovirt.lan/ovirt-engine/). You should see the oVirt landing page. That's it!