Adding an oVirt Node to oVirt 4.2
November 26, 2018
Welcome to the continuation of our oVirt 4.2 series! So far, we've setup oVirt and installed one instance of oVirt Node. In this article, we'll go ahead and add that node to our oVirt instance.
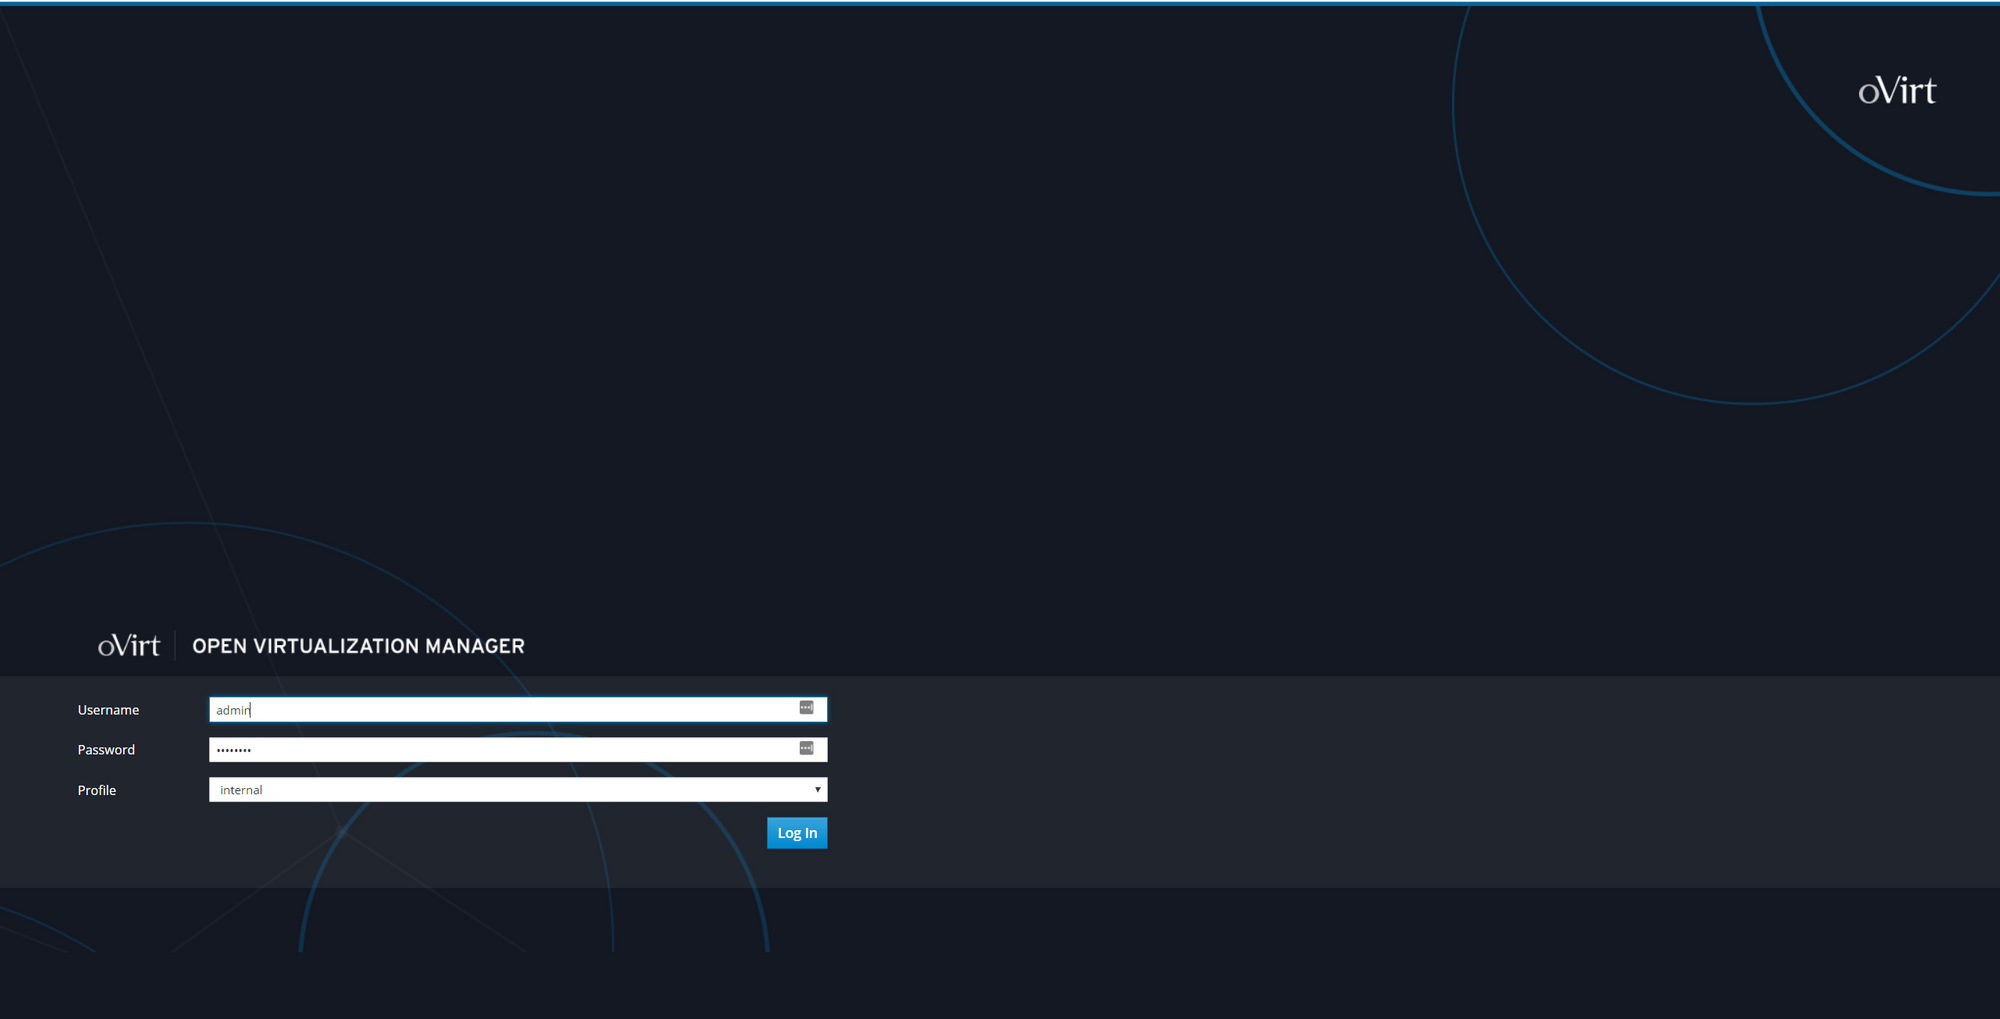
First, you'll want to browse to your oVirt instance and then click on Administration Portal. You'll be presented with the following screen which will ask for a username and password. The username is admin and the password is what you set during oVirt Node's installation. Click Log in.
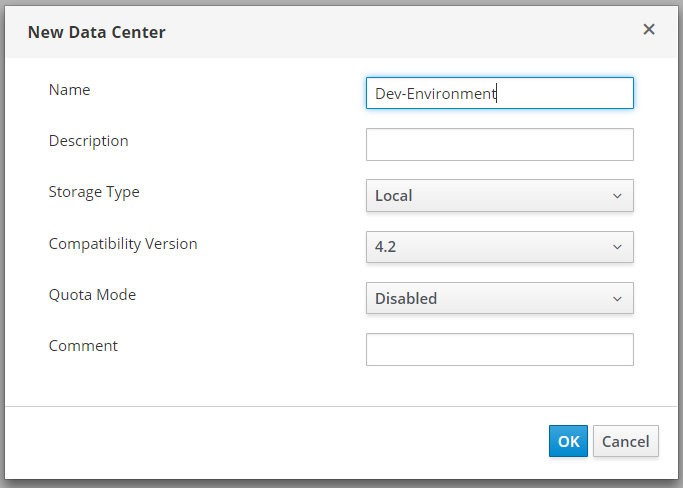
Once logged in, navigate to Compute > Data Centers and then click on New (top right). Give the new data center a name and click OK. For this demo, we'll be setting up a development environment that can be used for further oVirt testing and learning.
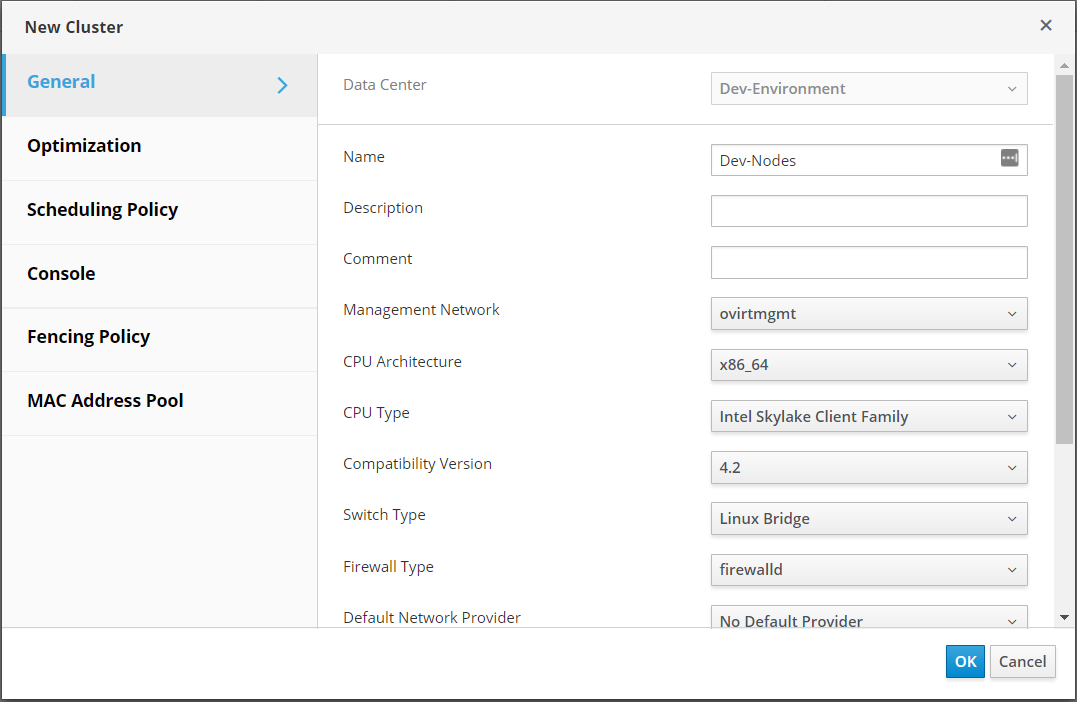
A new modal will appear - select Configure Cluster.

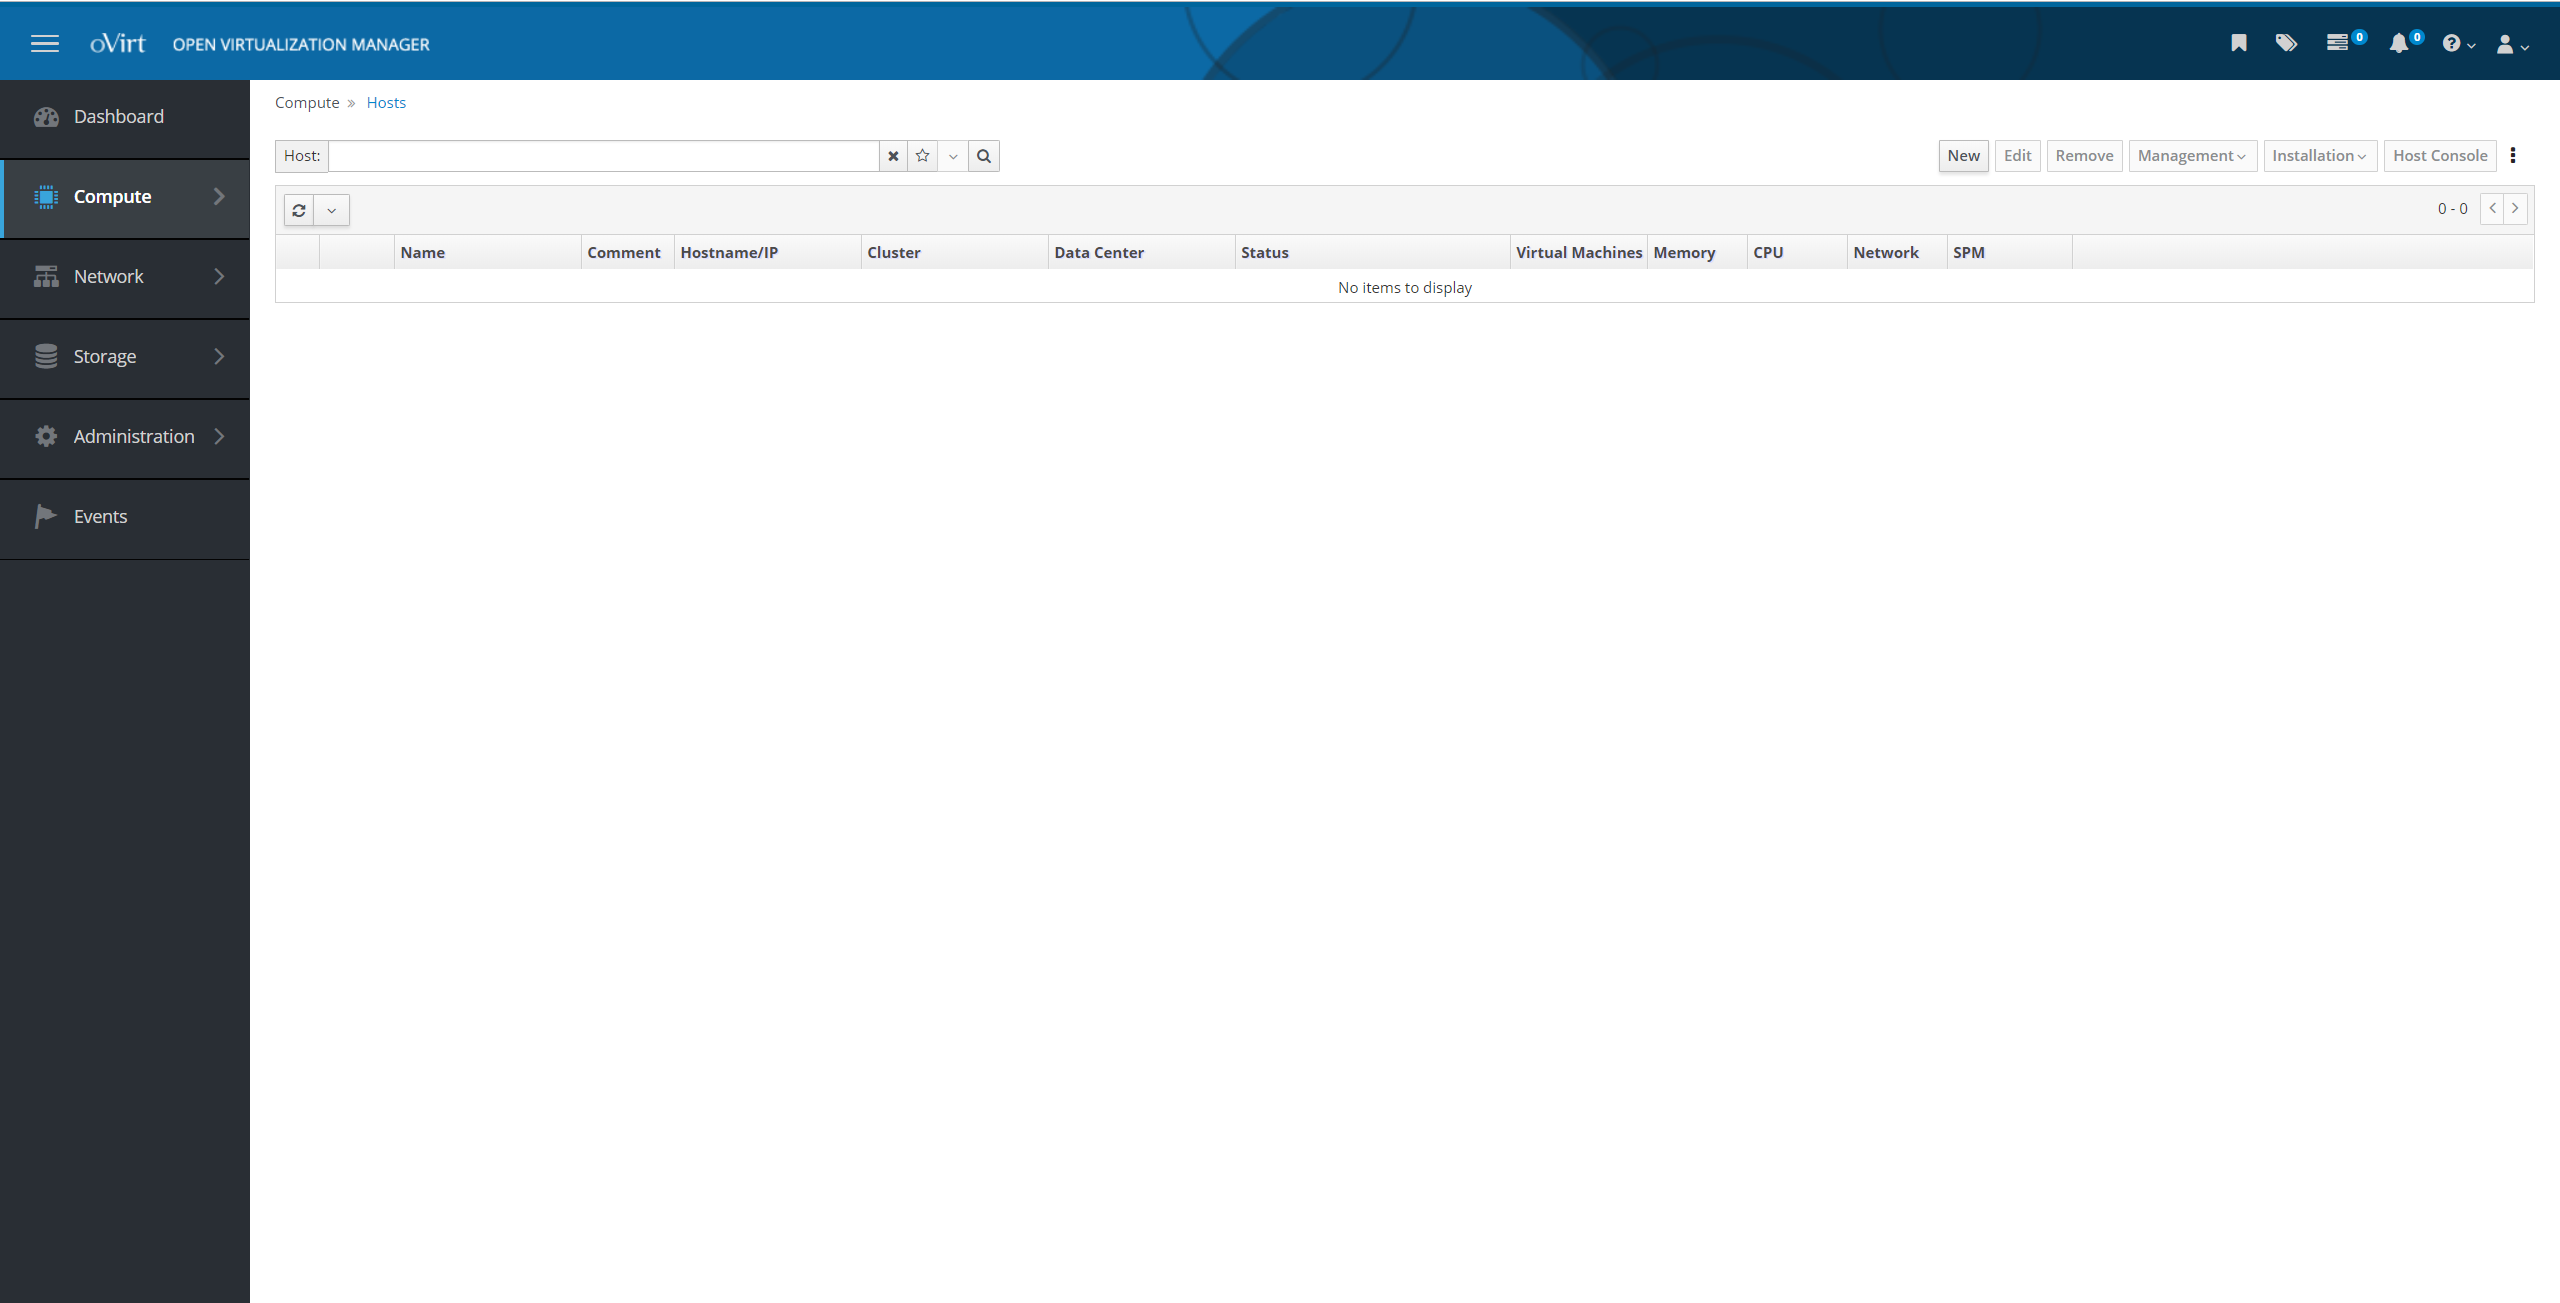
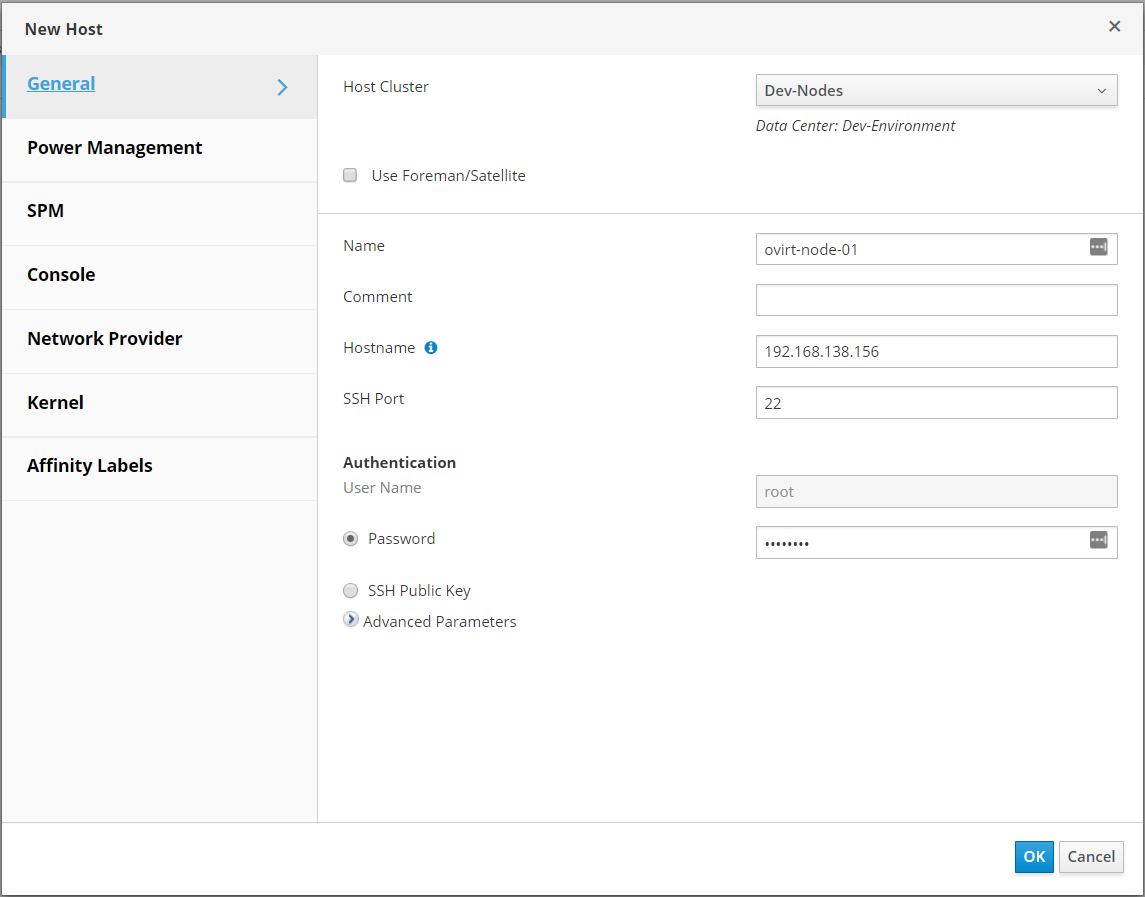
Navigate to Compute > Hosts and click on New (top right).
Specify the cluster that you previously created and tell oVirt the name, hostname (or IP), and password of the oVirt Node that you wish to add. Click OK.
oVirt will begin provisioning the newly added host.
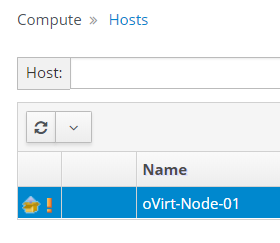
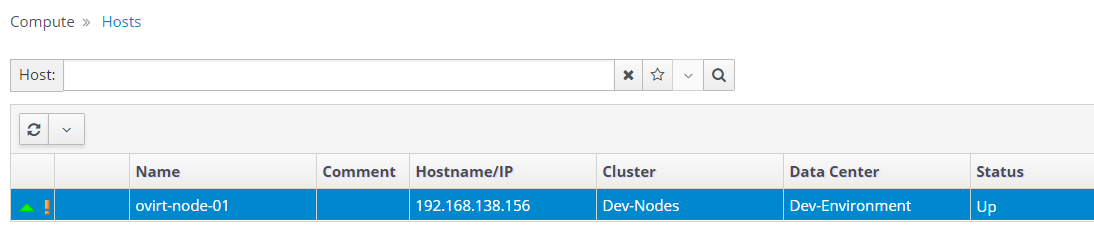
Once the newly added node is ready, the icon in the first column will change to a green up arrow and the status column will show "Up."
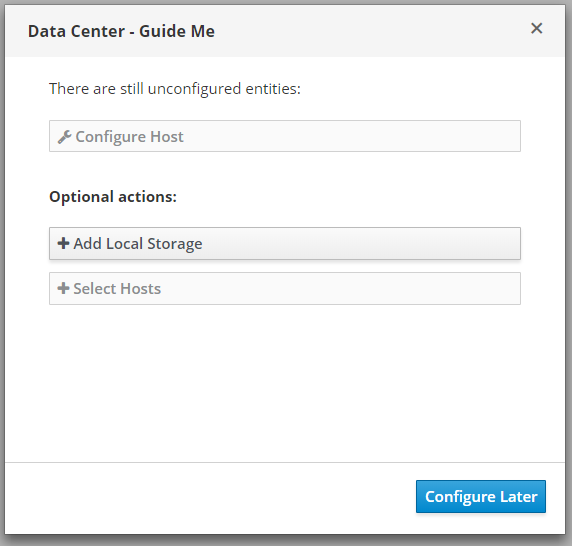
If you browse to Compute > Data Centers, you'll see that our data center is still uninitialized. This is because we have no storage at the moment. Click on the three dots (top right, "more" menu), and select Guide Me.

When the modal appears, click Add Local Storage.
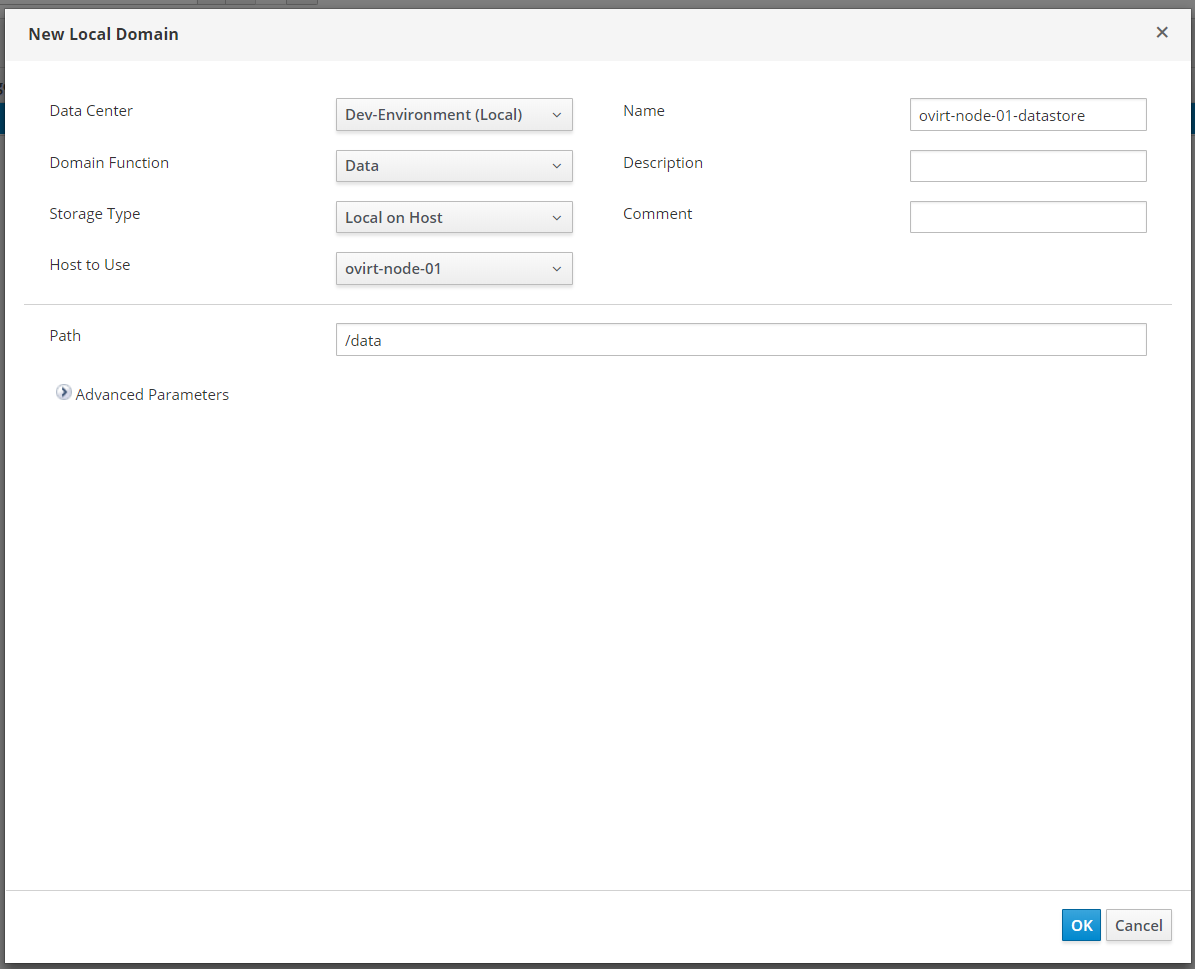
This new form should be filled in mostly already. We're going to create a local datastore on our newly added node at the path: /data. Once done, click OK.
Now, back on the dashboard, you can see that our data center, our host, and our data storage domain is all online and ready to be used!
