Use Hitachi Content Platform as Backend Storage for Nexus Repository Manager
March 08, 2019

Nexus Repository Manager by Sonatype is an all-in-one solution for hosting local repositories of various formats (ex. Docker, PyPi, Yum, Apt, Maven, etc., etc.). You may wish to setup Nexus if you do any of the following:
- Publish build artifacts to an internal repository
- Publish internal tools to an internal repository
- Publish Docker images to the public registry but don't necessarily need or want them to be public
- Host local copies or mirrors of popular repositories like PyPi or CentOS, etc.
In version 3.12 of Nexus Repository Manager, S3 was added to the blob storage component. Although at the moment, S3 services other than AWS are not supported, this article will detail how to pair Nexus with Hitachi Content Platform.
I work for Hitachi Vantara who are the creators of Hitachi Content Platform.
- Hitachi Content Platform 8.0 and above (8.1.2.4 will be used for this article)
- Nexus Repository Manager 3.12 and above (3.15.2-01 will be used for this article)
Configuring HCP
Creating a Tenant
If you already have a tenant created, you can skip this step. For this example, we'll create a tenant for our infrastructure team.
Once logged into HCP, click on Tenants and then select the Create Tenant dropdown. Give it a name, a hard/soft quota, a namespace quota, and set an initial user to administer the tenant. Also, be sure to enable Versioning. Once done, click Create Tenant.

Once the tenant has been created, browse to it and login.
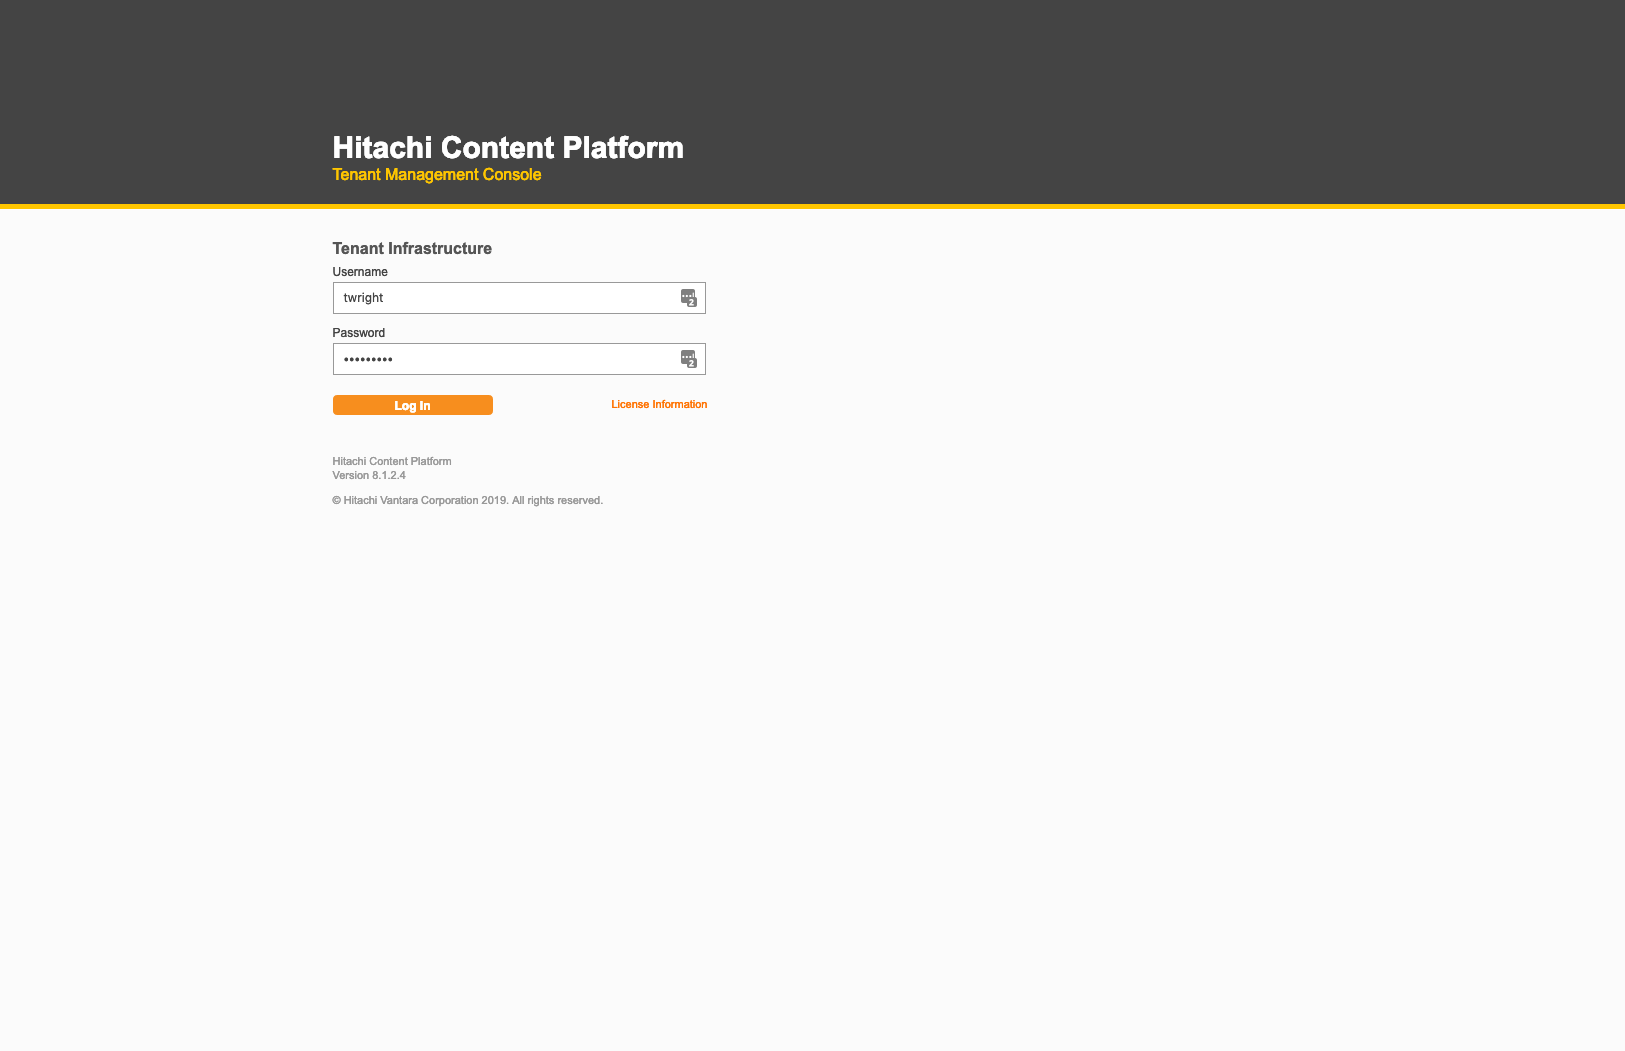
Upon login, you'll be asked to set a new password (different from your initial password). Once done, click Update Password.
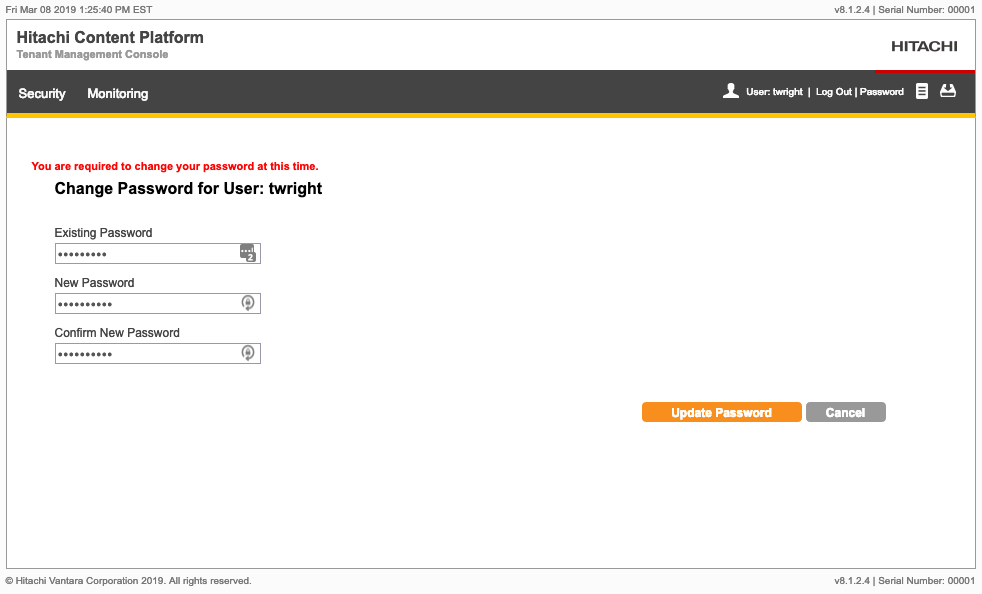
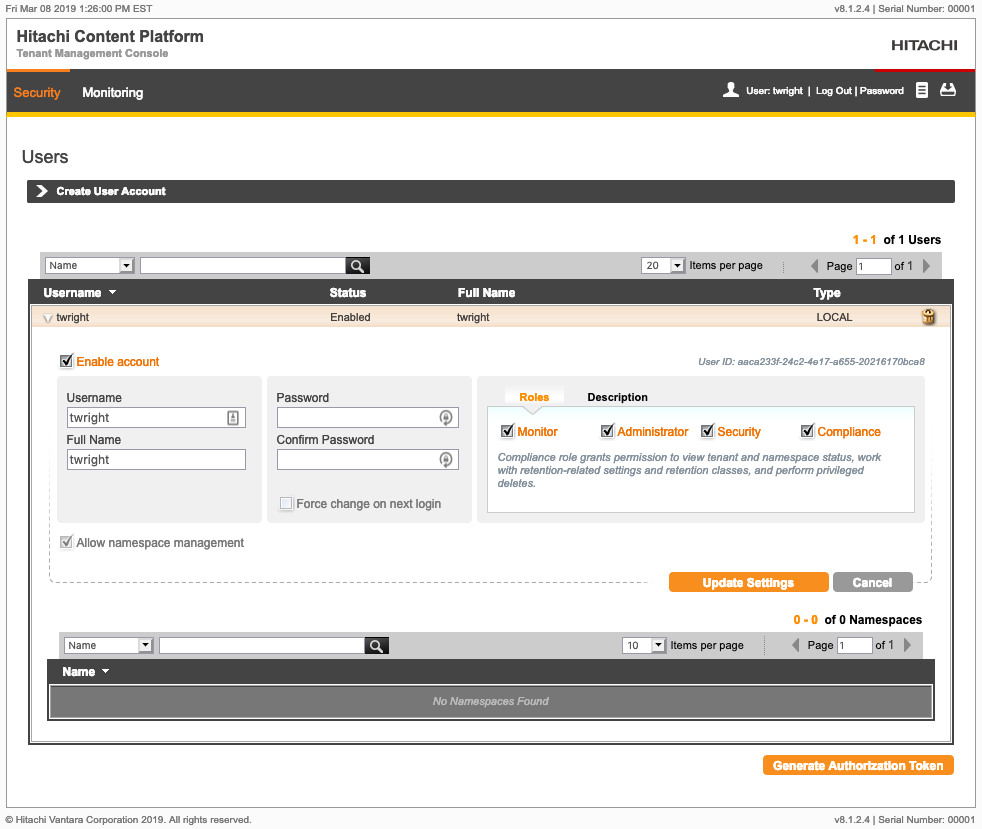
Under Security and then Users, select your username and check all of the boxes under Roles. Once done, click Update Settings.
Creating a Namespace
Now that we have our tenant setup (or, if you're just joining us, you already have a tenant where you wish to create these namespaces), let's continue!
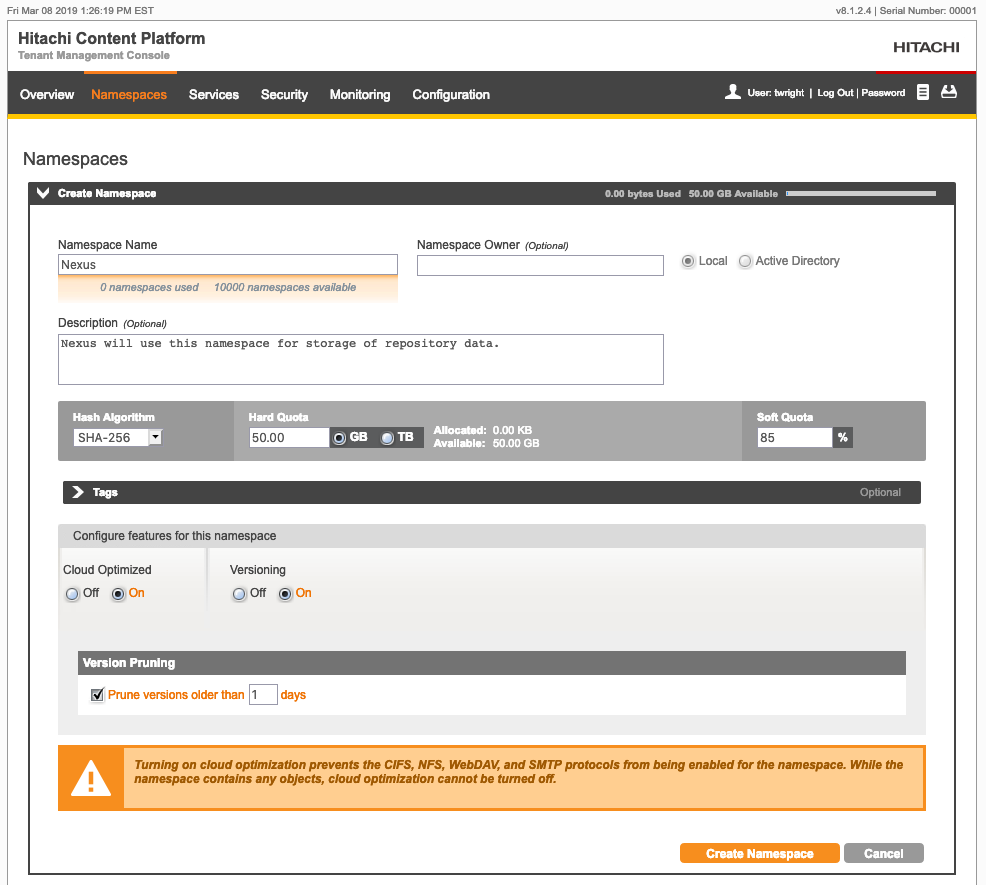
Under Namespaces, select the Create Namespace dropdown. We'll set the name to Nexus, we'll set a quota, and we'll turn on both Cloud Optimized and Versioning. Be sure to set Version Pruning to 1 day.
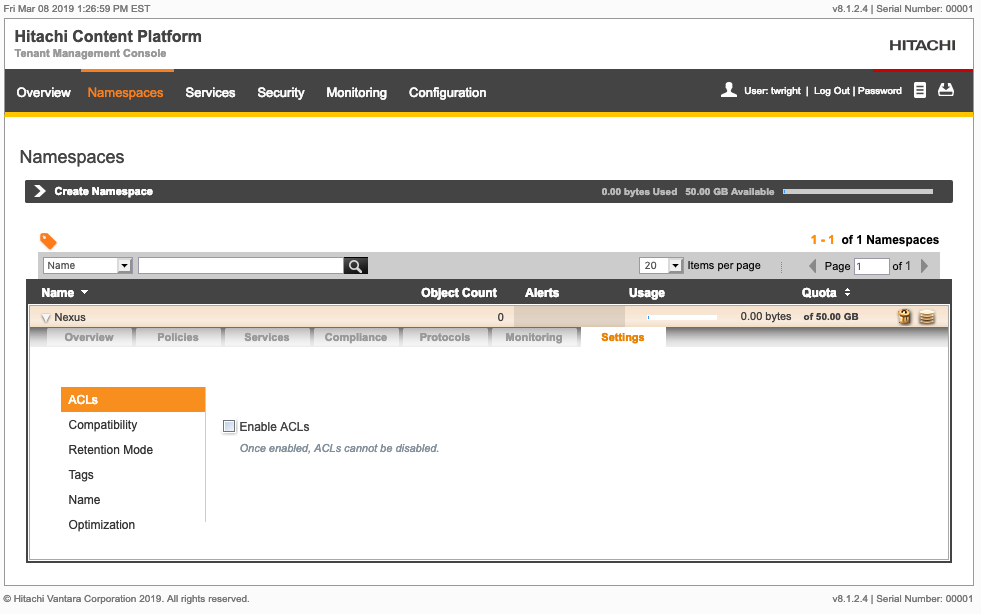
Once the namespace has been created, click on it and browse to the Settings tab. Select ACLs and then Enable ACLs.
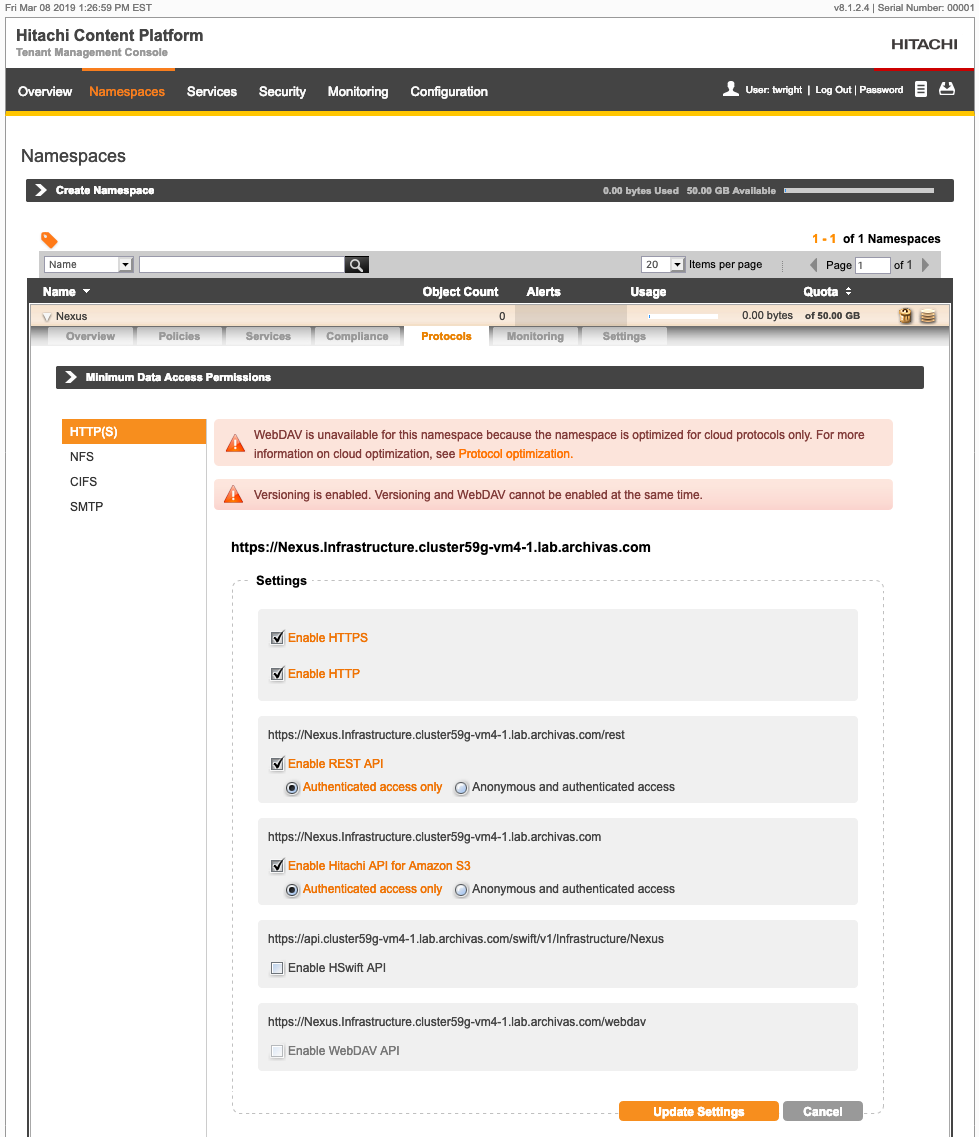
Under the Protocols tab, make sure Enable Hitachi API for Amazon S3 has been selected under HTTP(S). Click Update Settings once done. In this example, we'll be going over HTTP so we've also checked the Enable HTTP box.
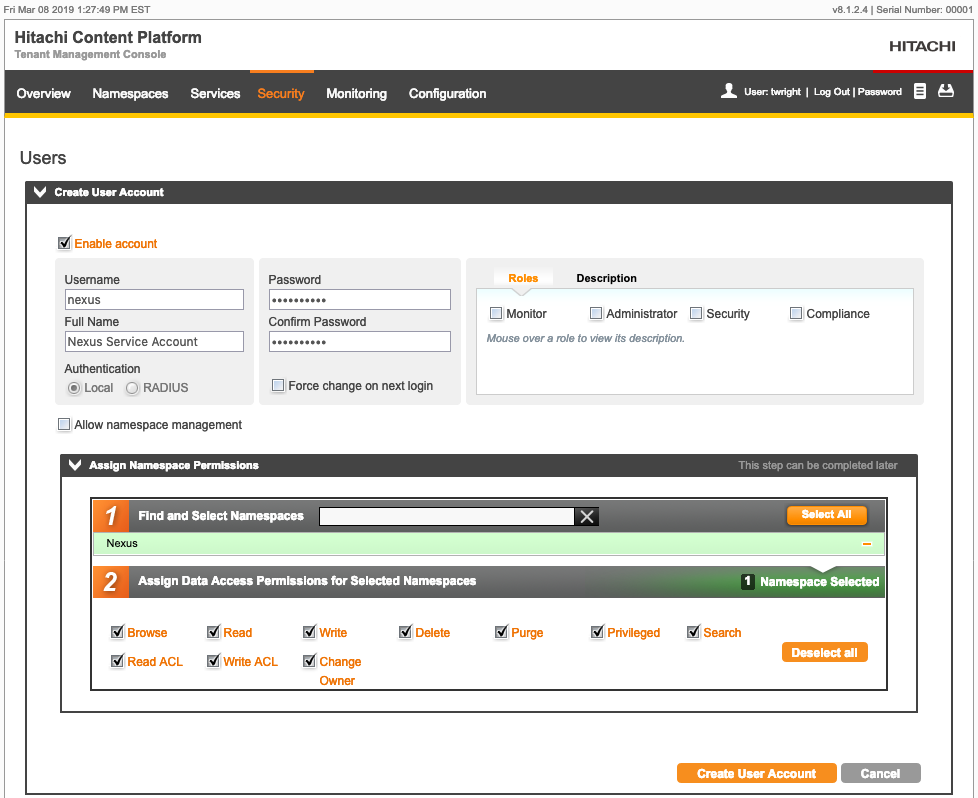
Under Security and then Users, select Create User Account. We'll create a service account for Nexus. Open the Assign Namespace Permissions dropdown and click on Nexus and then Select All. Click Create User Account.
HCP will give you an authorization token. Be sure to write this down as we'll need it to configure Nexus.

Configuring Nexus
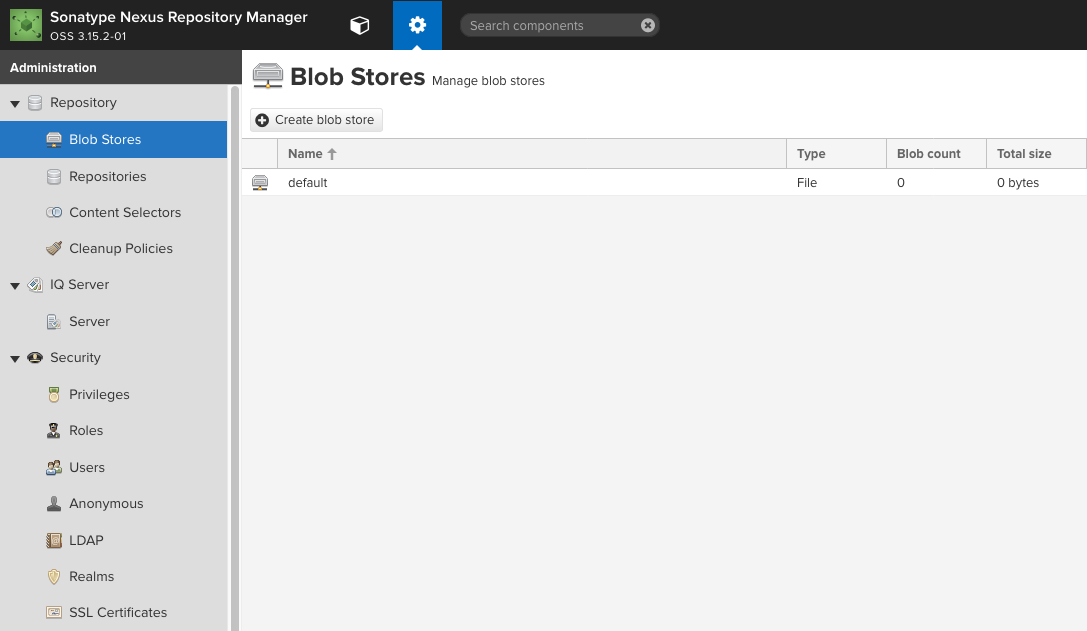
Now that we have our namespace setup, browse to your Nexus instance and login. Browse to the admin panel (gear at top of page) and then click on Blob Stores. Select Create blob store.
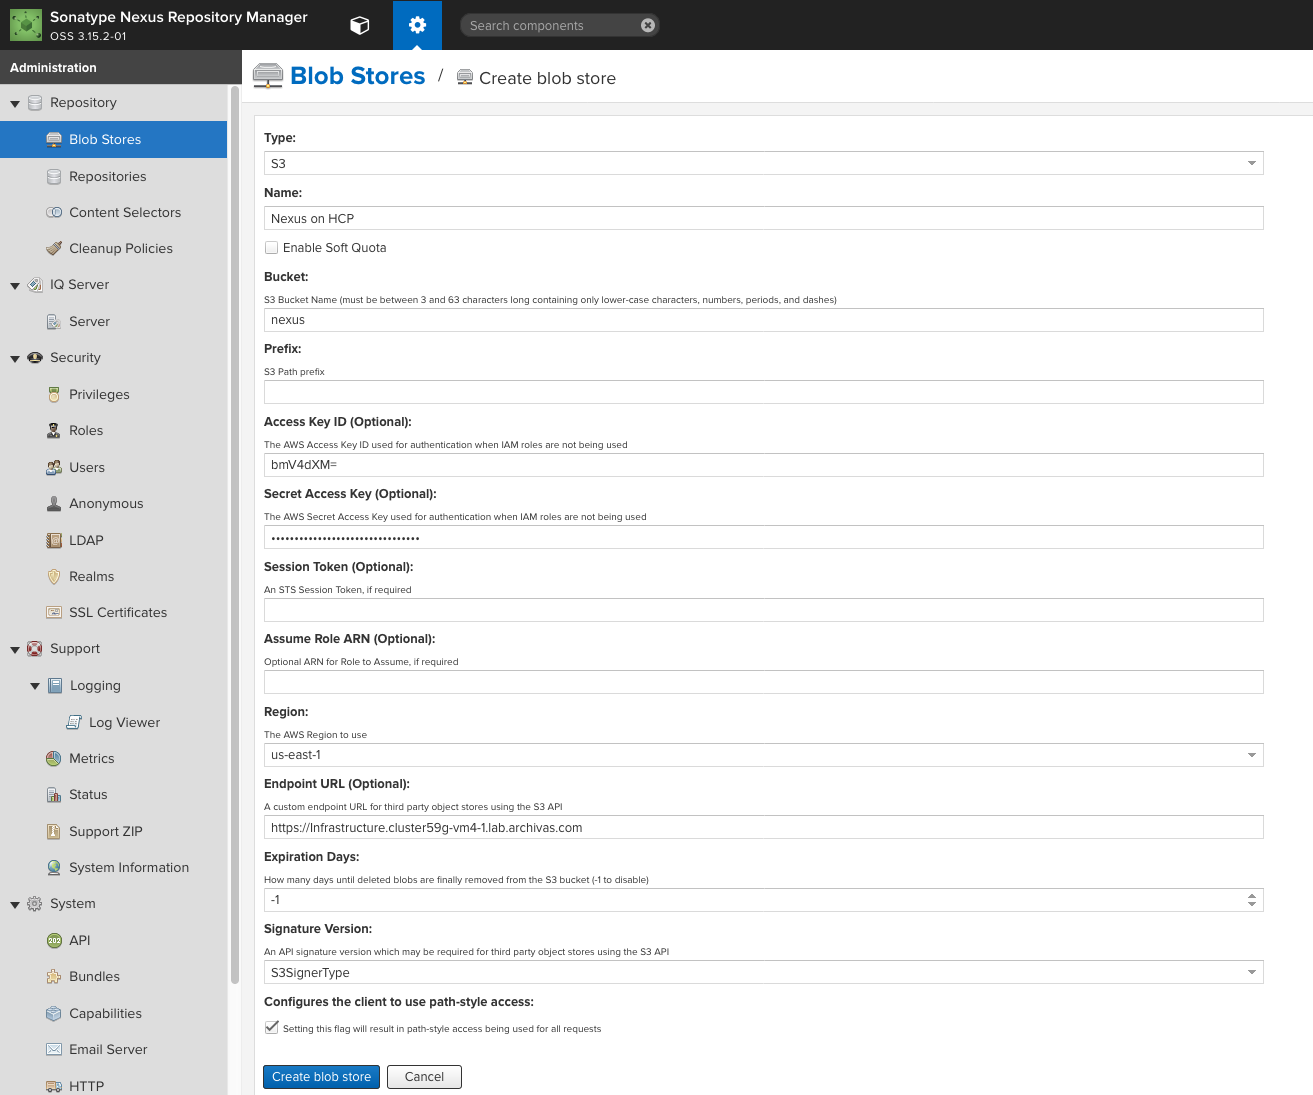
Enter in the following information:
| FIELD | VALUE | EXAMPLE VALUE |
|---|---|---|
| Type | S3 | |
| Name | Name of your new blob store | Nexus on HCP |
| Bucket | Namespace on HCP (must be lowercase here) | nexus |
| Access Key ID | First part of the auth token (up until the ":") | bmV4dXM= |
| Secret Access Key | Second part of the auth token (after the ":") | 0cef1fb10f60529028a71f58e54ed07b |
| Region | Always going to be us-east-1 | us-east-1 |
| Endpoint URL | The URL to your tenant | http://infrastructure.cluster59g-vm4-1.archivas.com |
| Expiration Days | -1 | |
| Signature Version | S3SignerType | |
| Configure the client to use path-style access | Checked | |
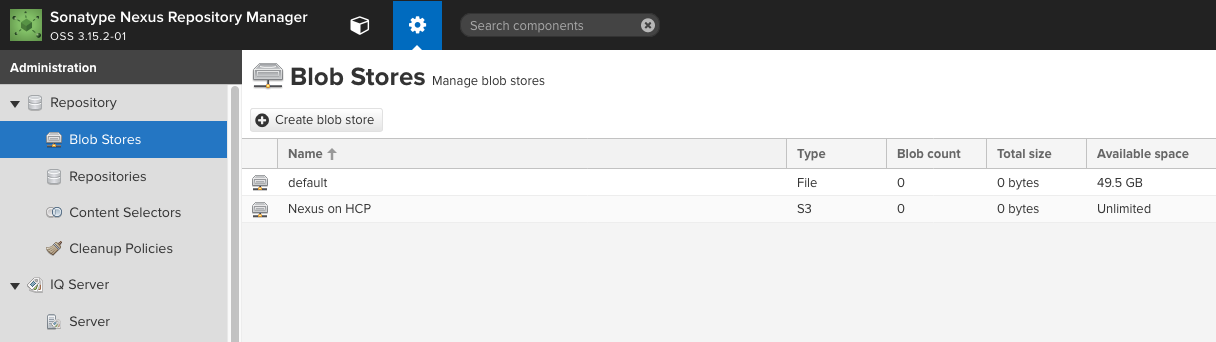
After clicking Create blob store, you should see the new blob store in the list.
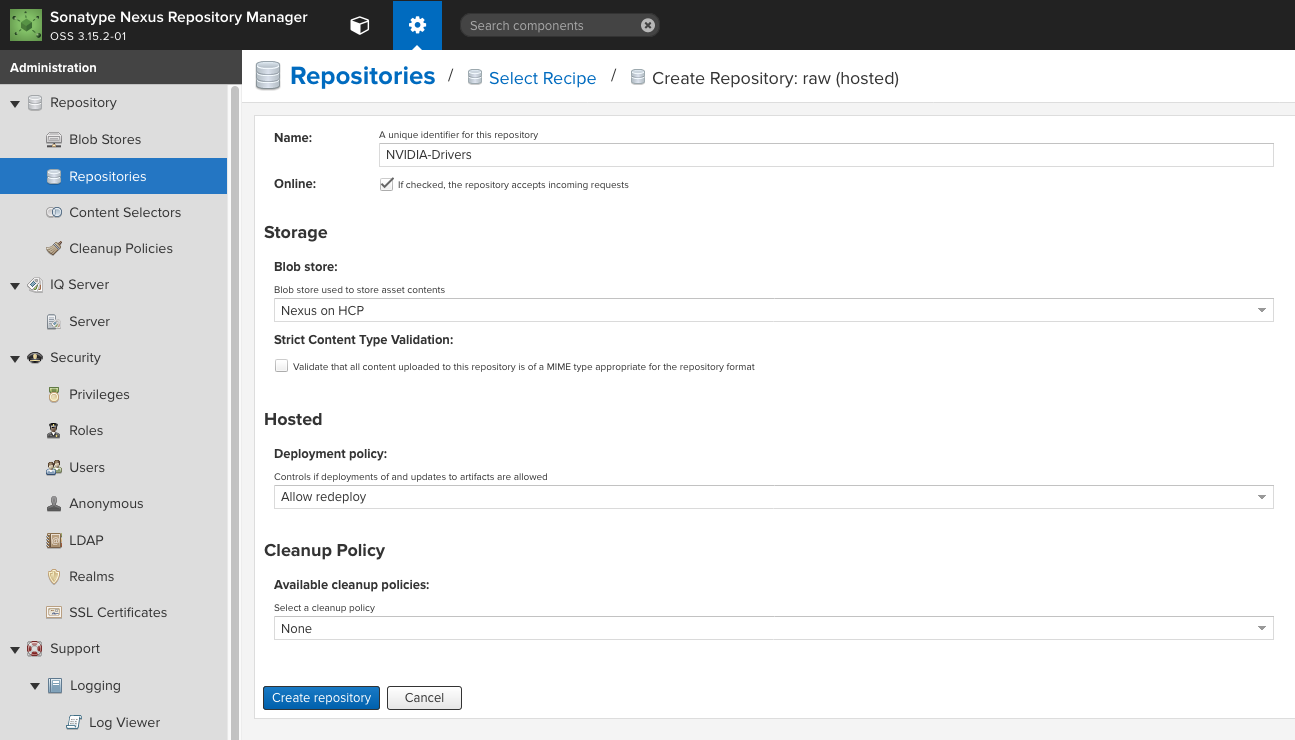
Just to test this out, we'll go ahead and create a raw repository and call it NVIDIA-Drivers. We'll store our NVIDIA graphics card drivers in this repo. Be sure to select the new HCP blob store.
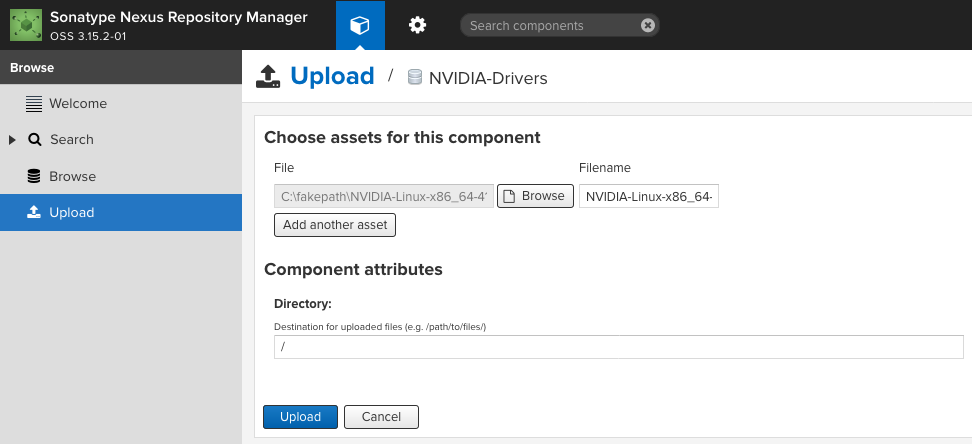
Navigate back to the homepage, select Upload, and then select the new repo. Upload a file. It should upload successfully.
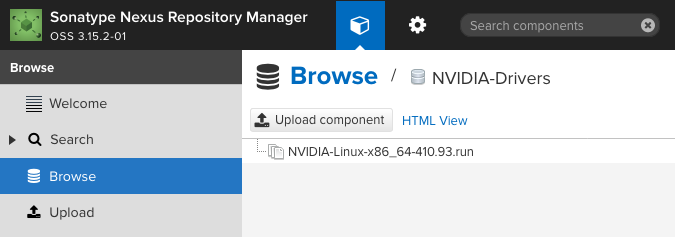
Browsing to that repo, we can now see our uploaded file.
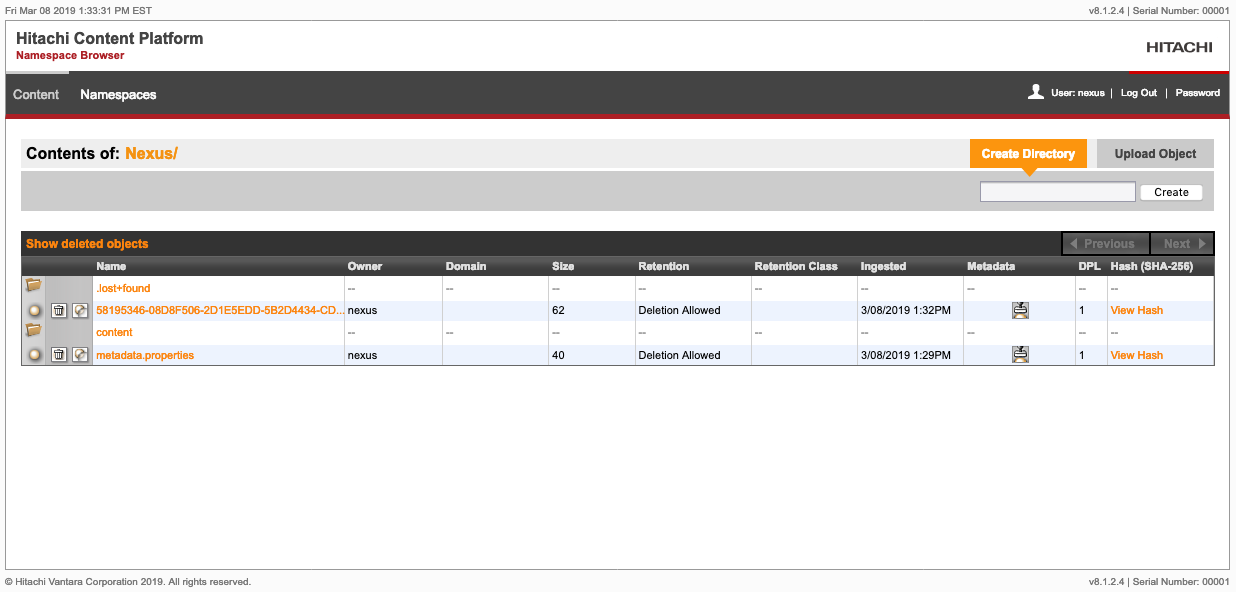
Navigate back to your namespace on HCP. As you can see content is being stored by Nexus successfully.
And that's it! Pairing a wonderful repository manager with a powerful object storage solution is a match made in heaven! To learn more about HCP or Nexus Repository Manager, check out the following: