Using ExpanDrive to Mount an HCP Namespace (via WebDAV)
September 03, 2018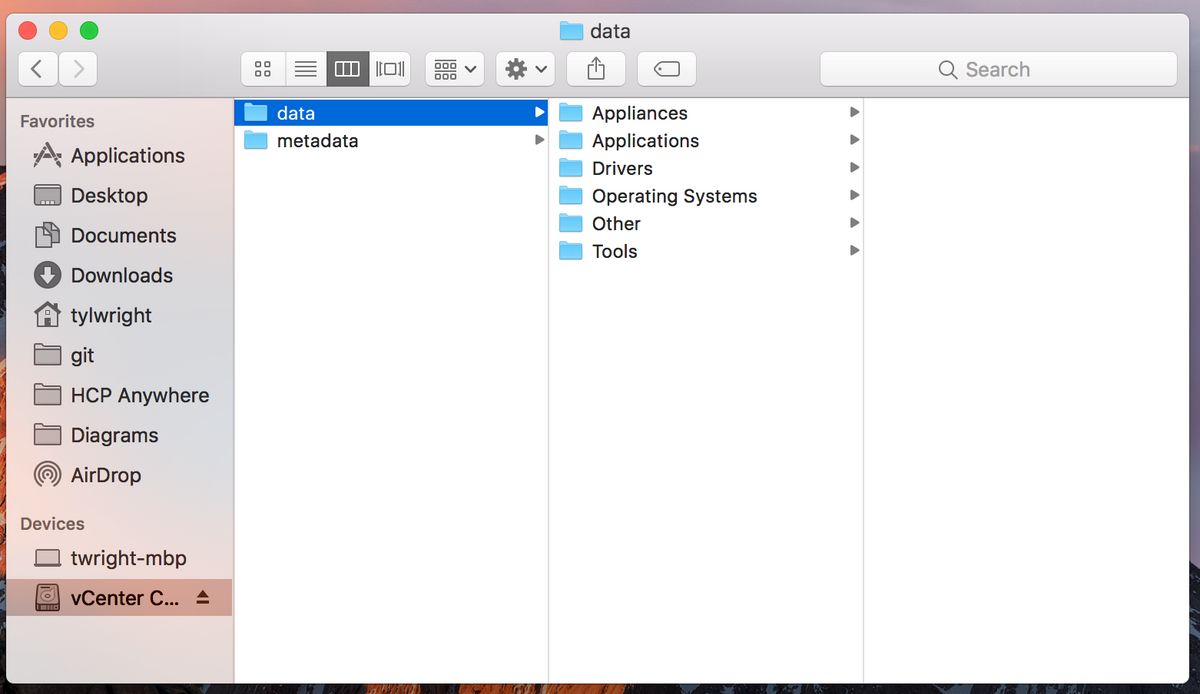
Love ExpanDrive? You are about to love it even more! Here's how you can mount a Hitachi Content Platform namespace as a drive with it.
For this example, we'll be connecting to our vCenter namespace which acts as a content library for us. We store ISOs, apps, drivers, etc. there and have it mounted as a datastore in vCenter.
HCP: Enabling WebDAV on a Namespace
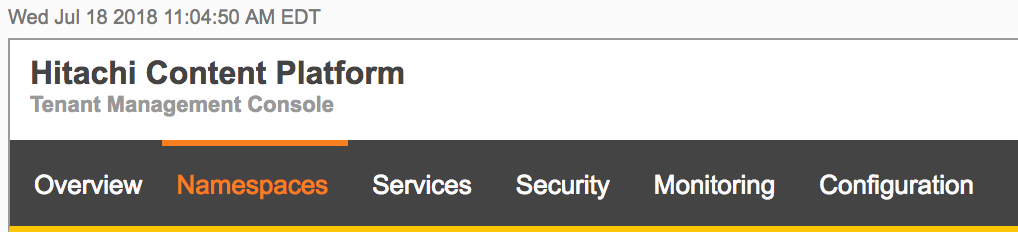
- Login to the HCP tenant that contains the namespace that you wish to access.
- Click on Namespaces.
- In the list of namespaces, click on the namespace that you wish to access.
- Once expanded, click on the Protocols tab and then HTTP(S).

- Towards the bottom, make sure Enable WebDAV API is checked. Click Update Settings. Note the URL listed.

ExpanDrive: Adding an HCP Namespace via WebDAV
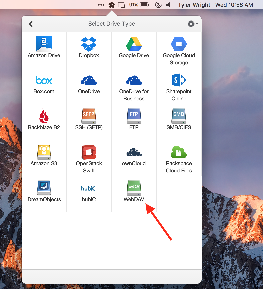
- Open ExpanDrive and click on WebDAV.
- In the Server field, enter the URL that you saw in step 5 above (ex. https://vCenter.storage.hcp.example.com/webdav).
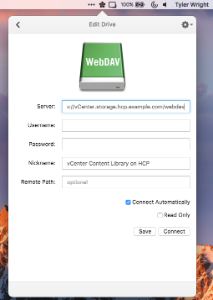
- Specify username and password if required. For this example, we're logging in anonymously so we'll leave these fields blank.
- Last but not least, specify a Nickname so you can easily identify this drive.
- Once done, click Connect.
- A Finder window should open with the new drive in view. Note that there will be a data folder and a metadata folder since this is an object storage provider. You'll want to browse the data folder.

Enjoy! Now you can browse, delete, upload, etc. easily.
Additional Reading